Welcome to the wonderful world of tulips
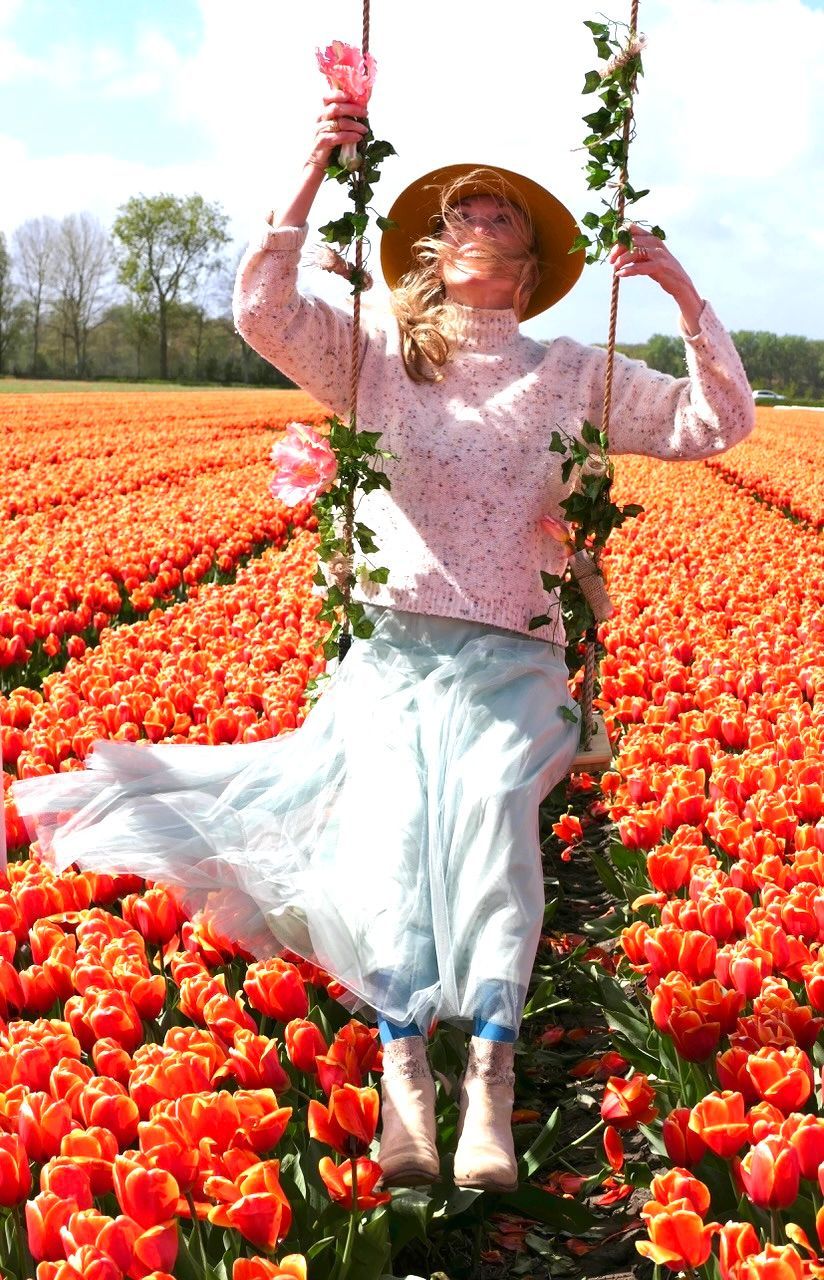
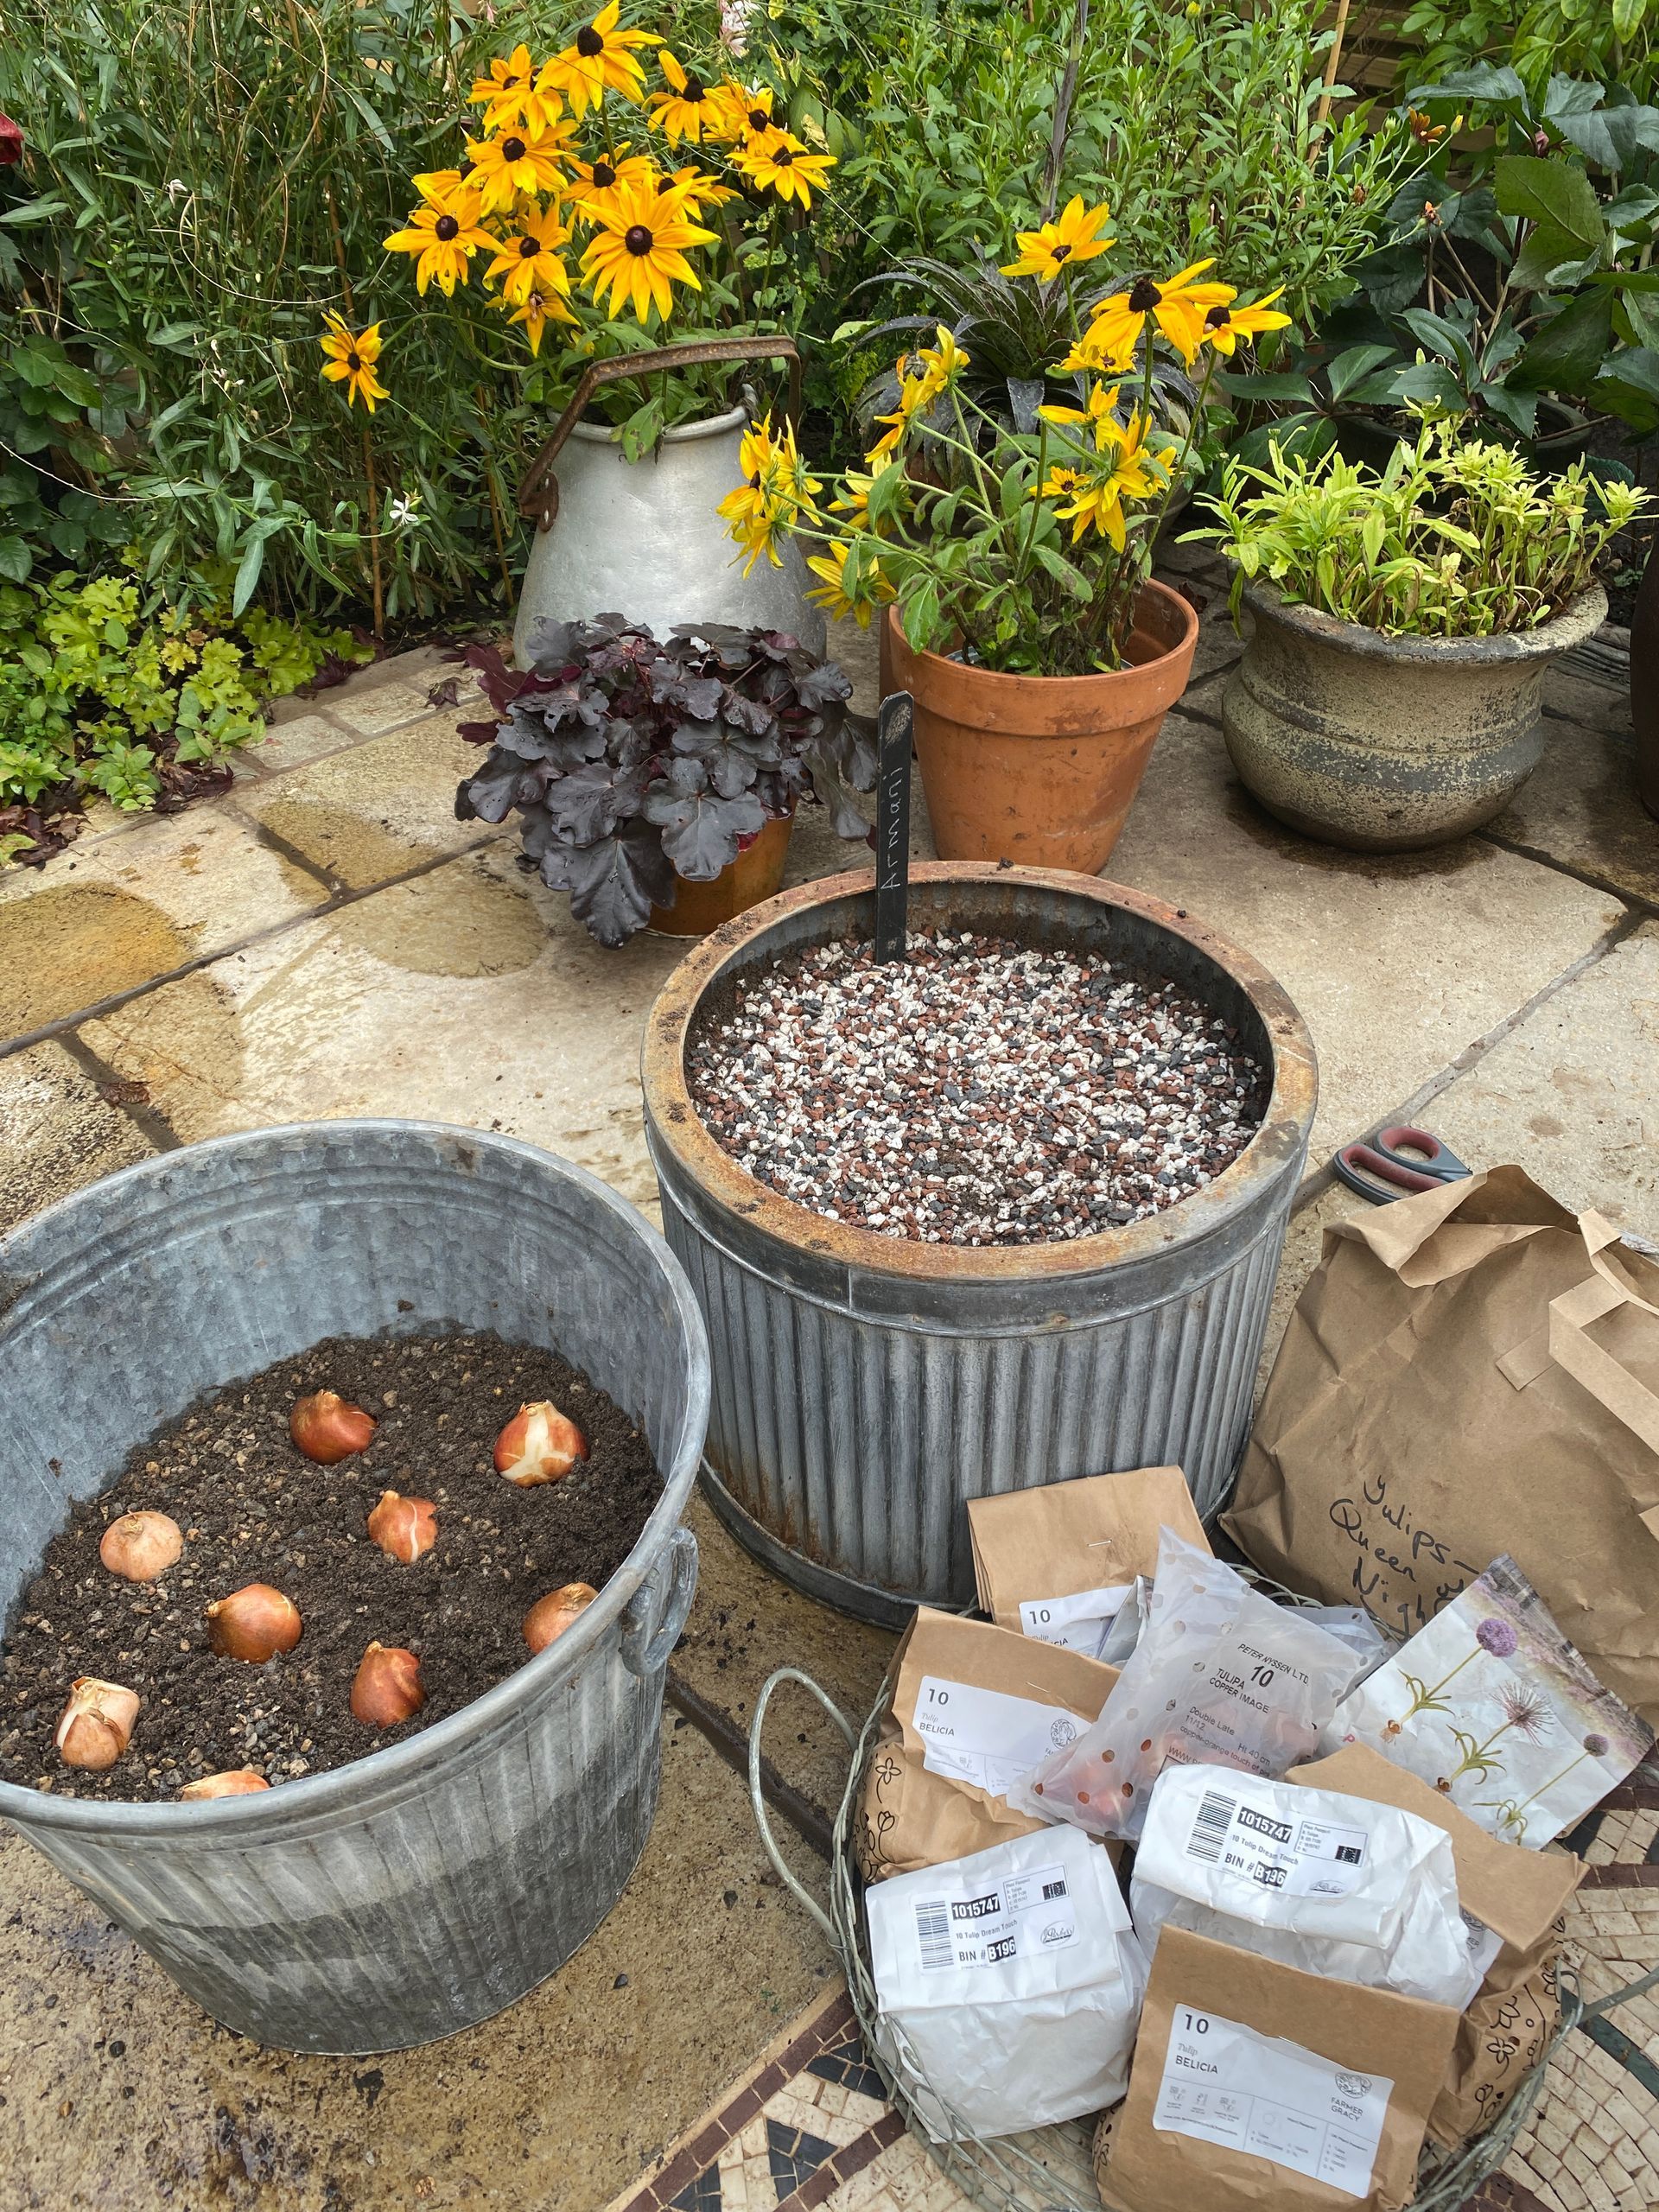
For years I pigeon-holed tulips as boring, petrol-station blooms that drooped in the vase after a couple of days. But when I dug a bit deeper and did some online research, I was taken aback by the sheer volume of voluptuous tulip bulbs available. So I ordered a few as an experiment. They arrived dumpy and brown in their papery skins. Unremarkable and unlovely. But oh, they carried the promise of such transformation. Come Spring, the Belicia shook out her frills of vanilla silk, edges stained with raspberry ink. Light shone from the scarlet candles of the Armani. And the sepia-luxe of La Belle Epoque bustled beside the raven drama of Queen of Night.
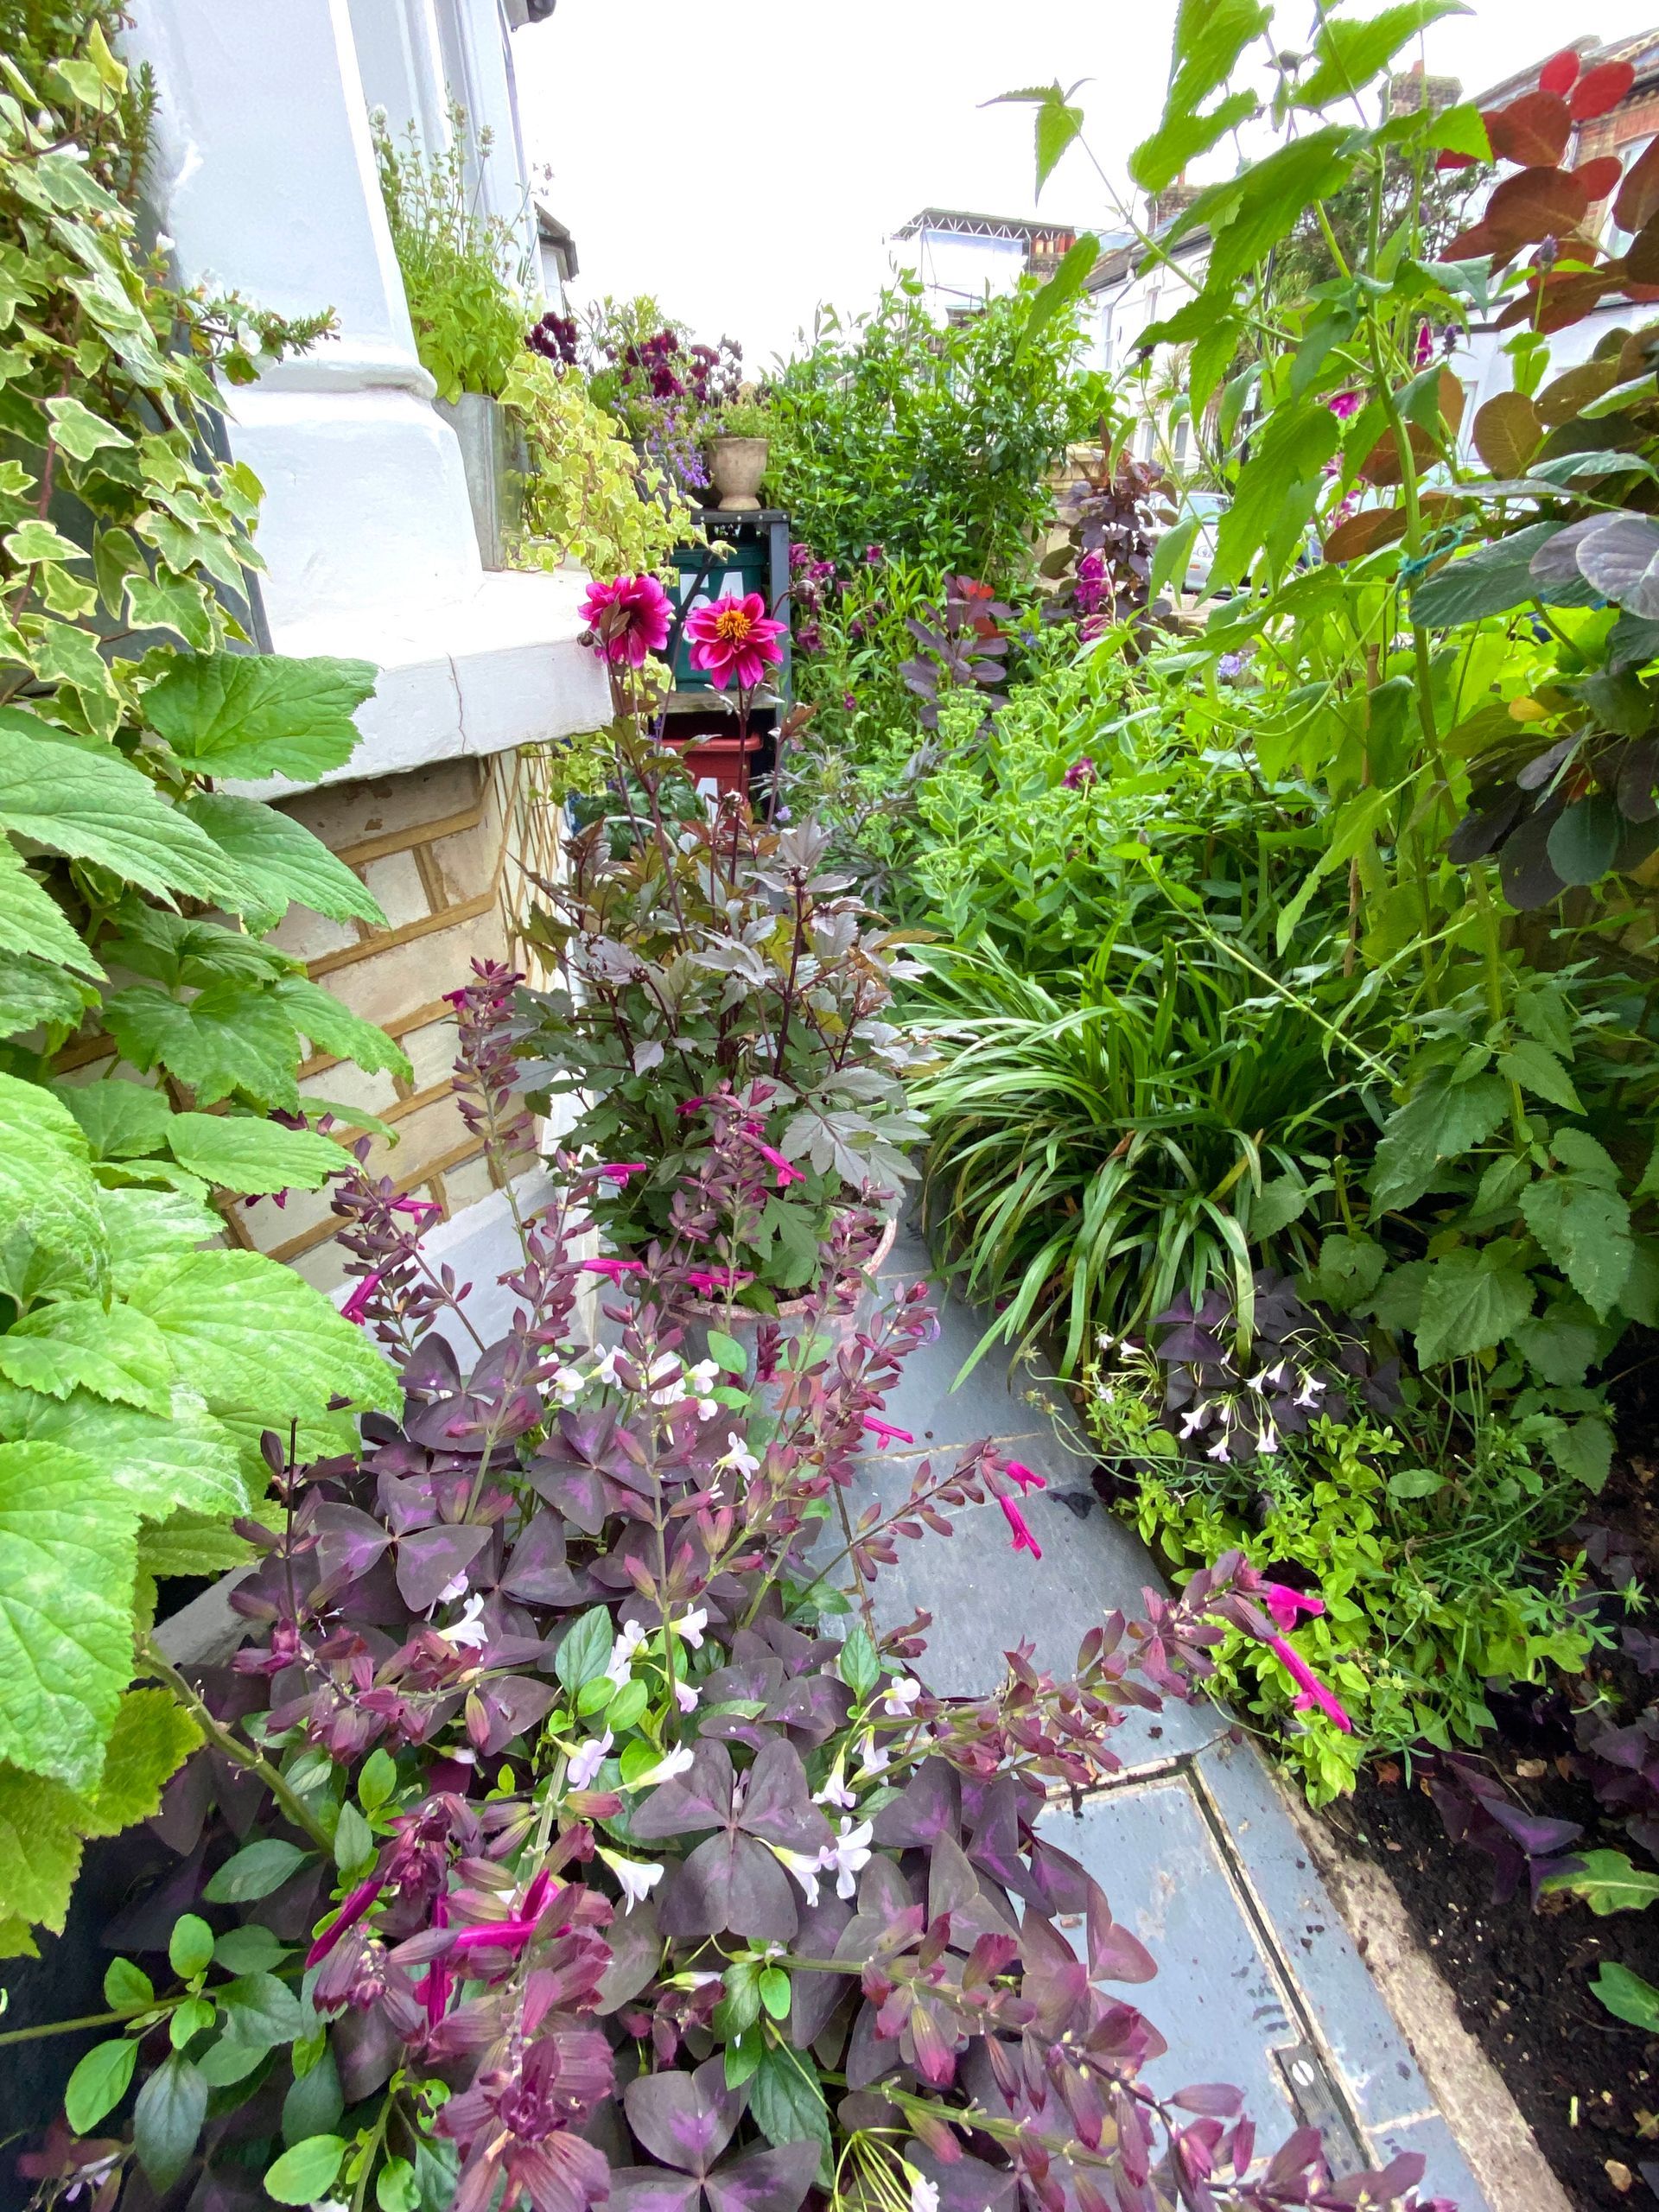
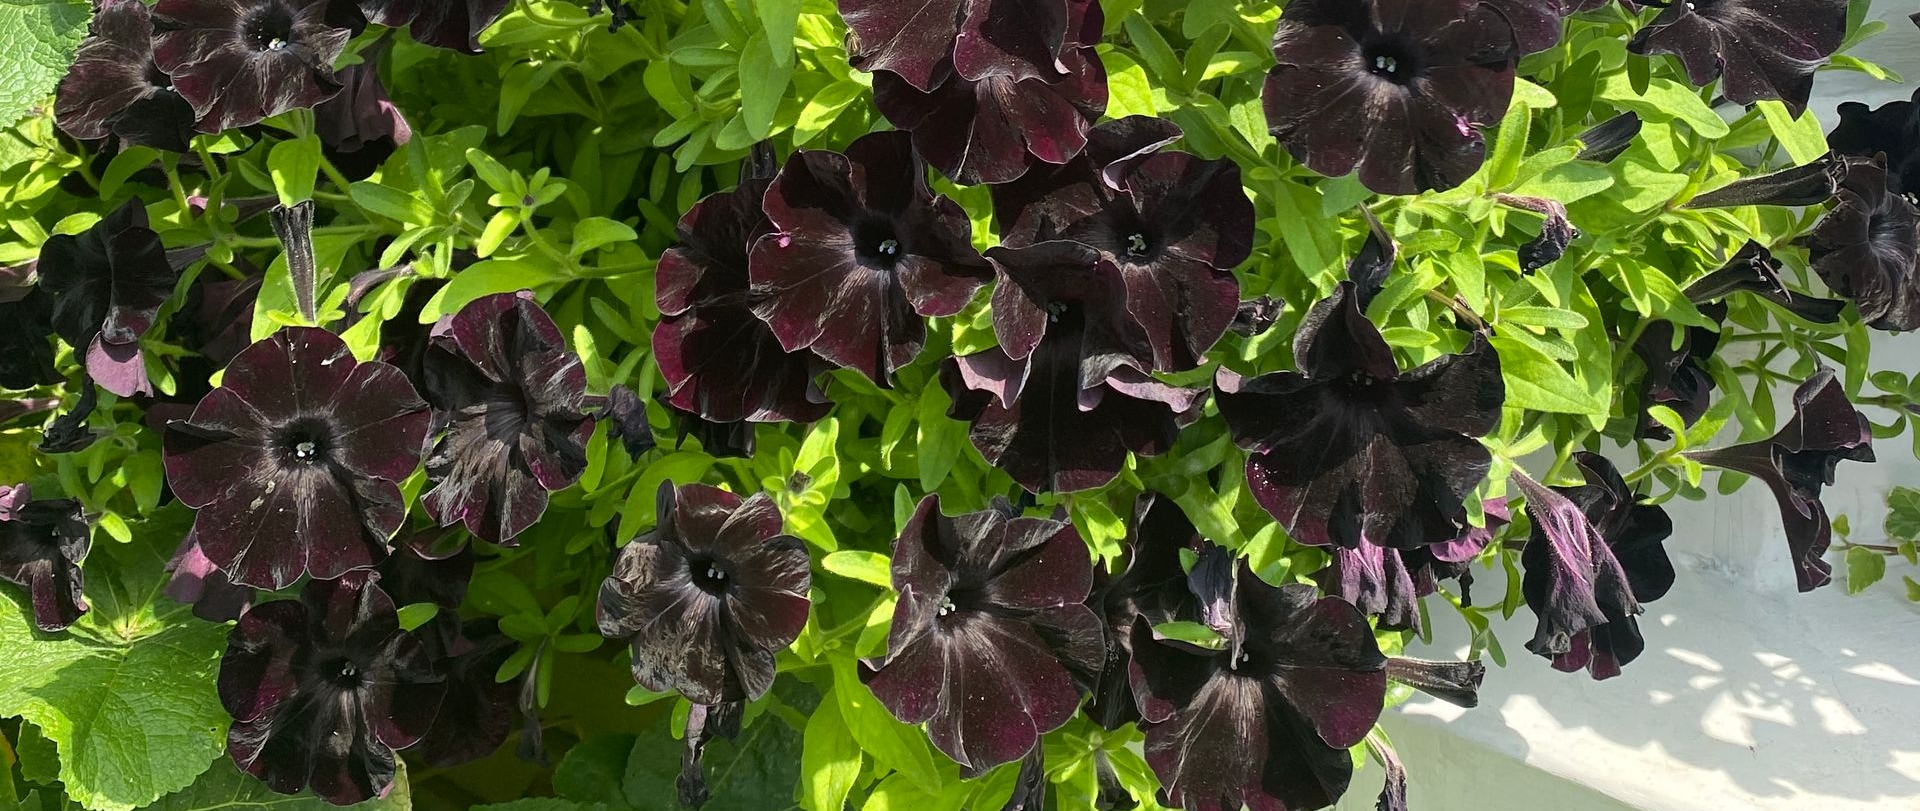
Since then, I have made it a ritual of autumn to go online and select a haul of amazing tulips. It’s so cheering to choose these treasures when the weather is turning dreary and there are so many varieties, from those shaped like the feathers of exotic birds (the parrot tulips) to those that resemble peonies (the double tulips). And the range of colours is something to behold. Whatever your favourite shades are, there will be a tulip to match.
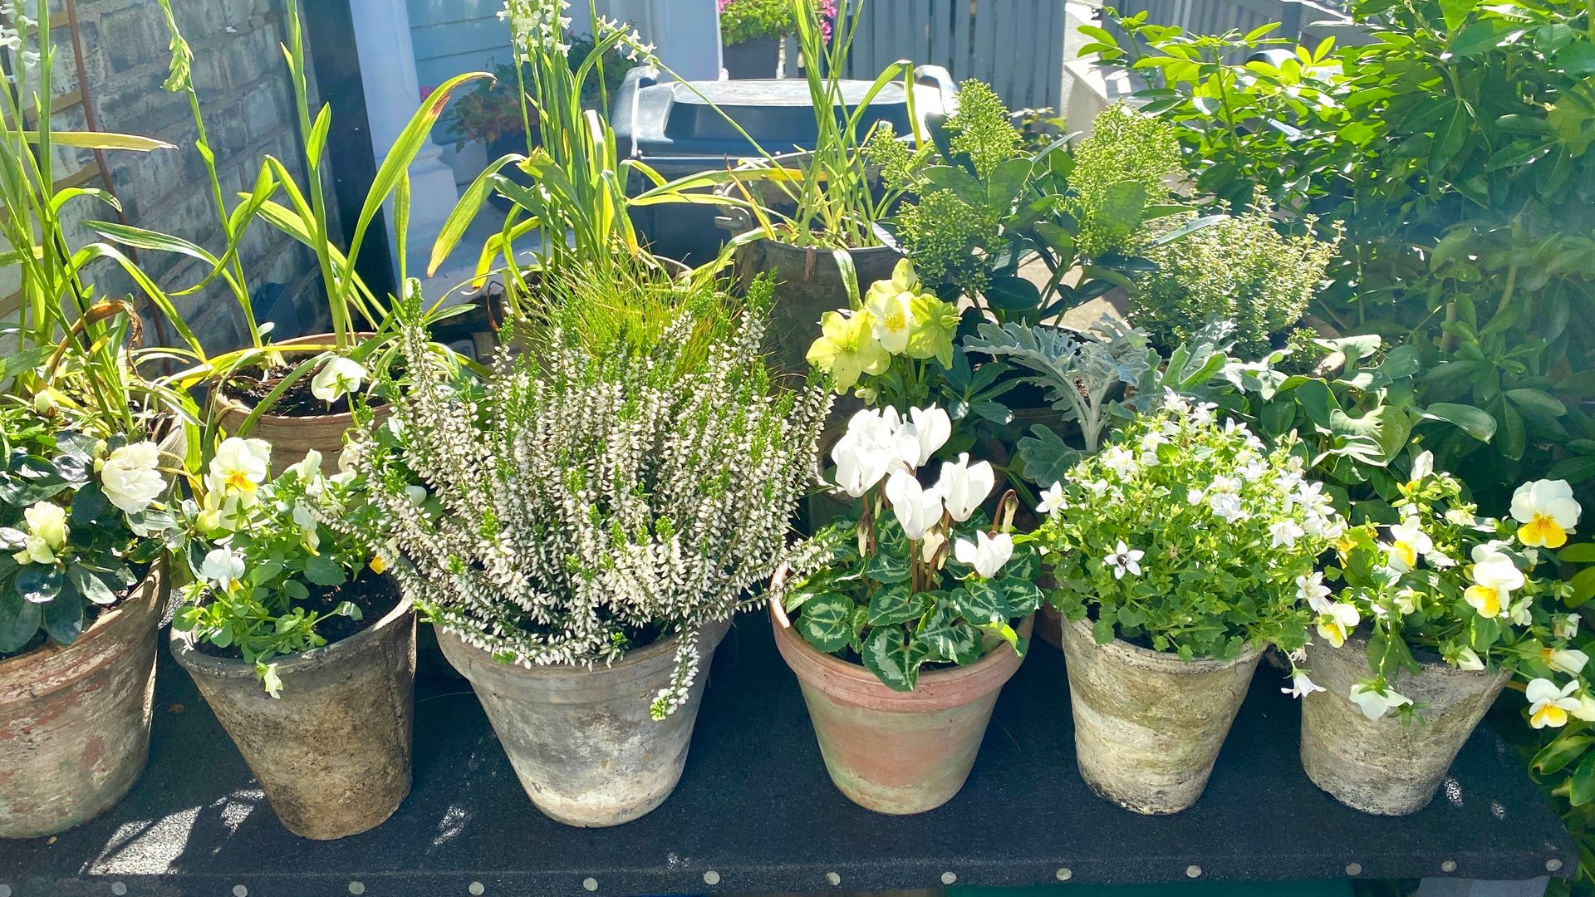
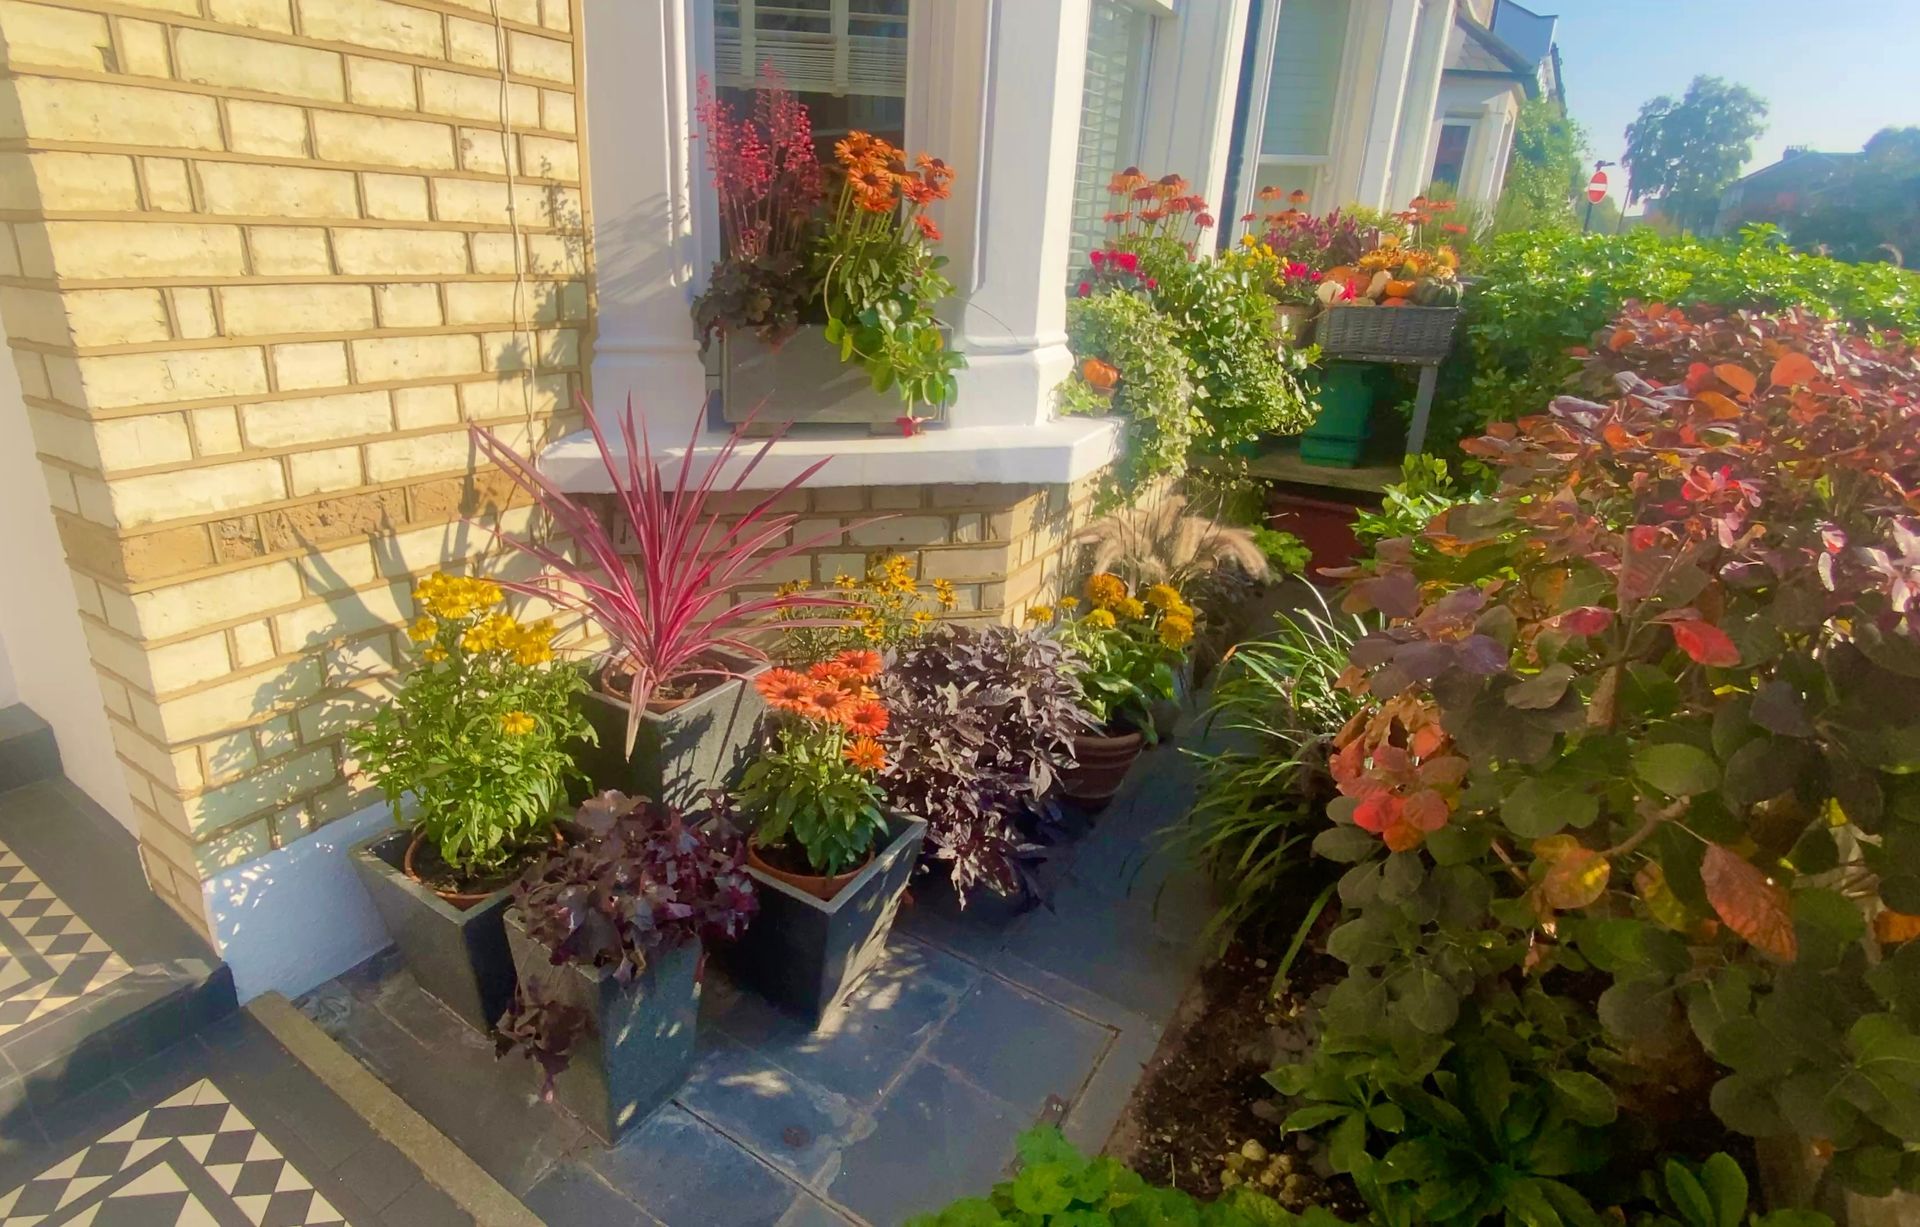
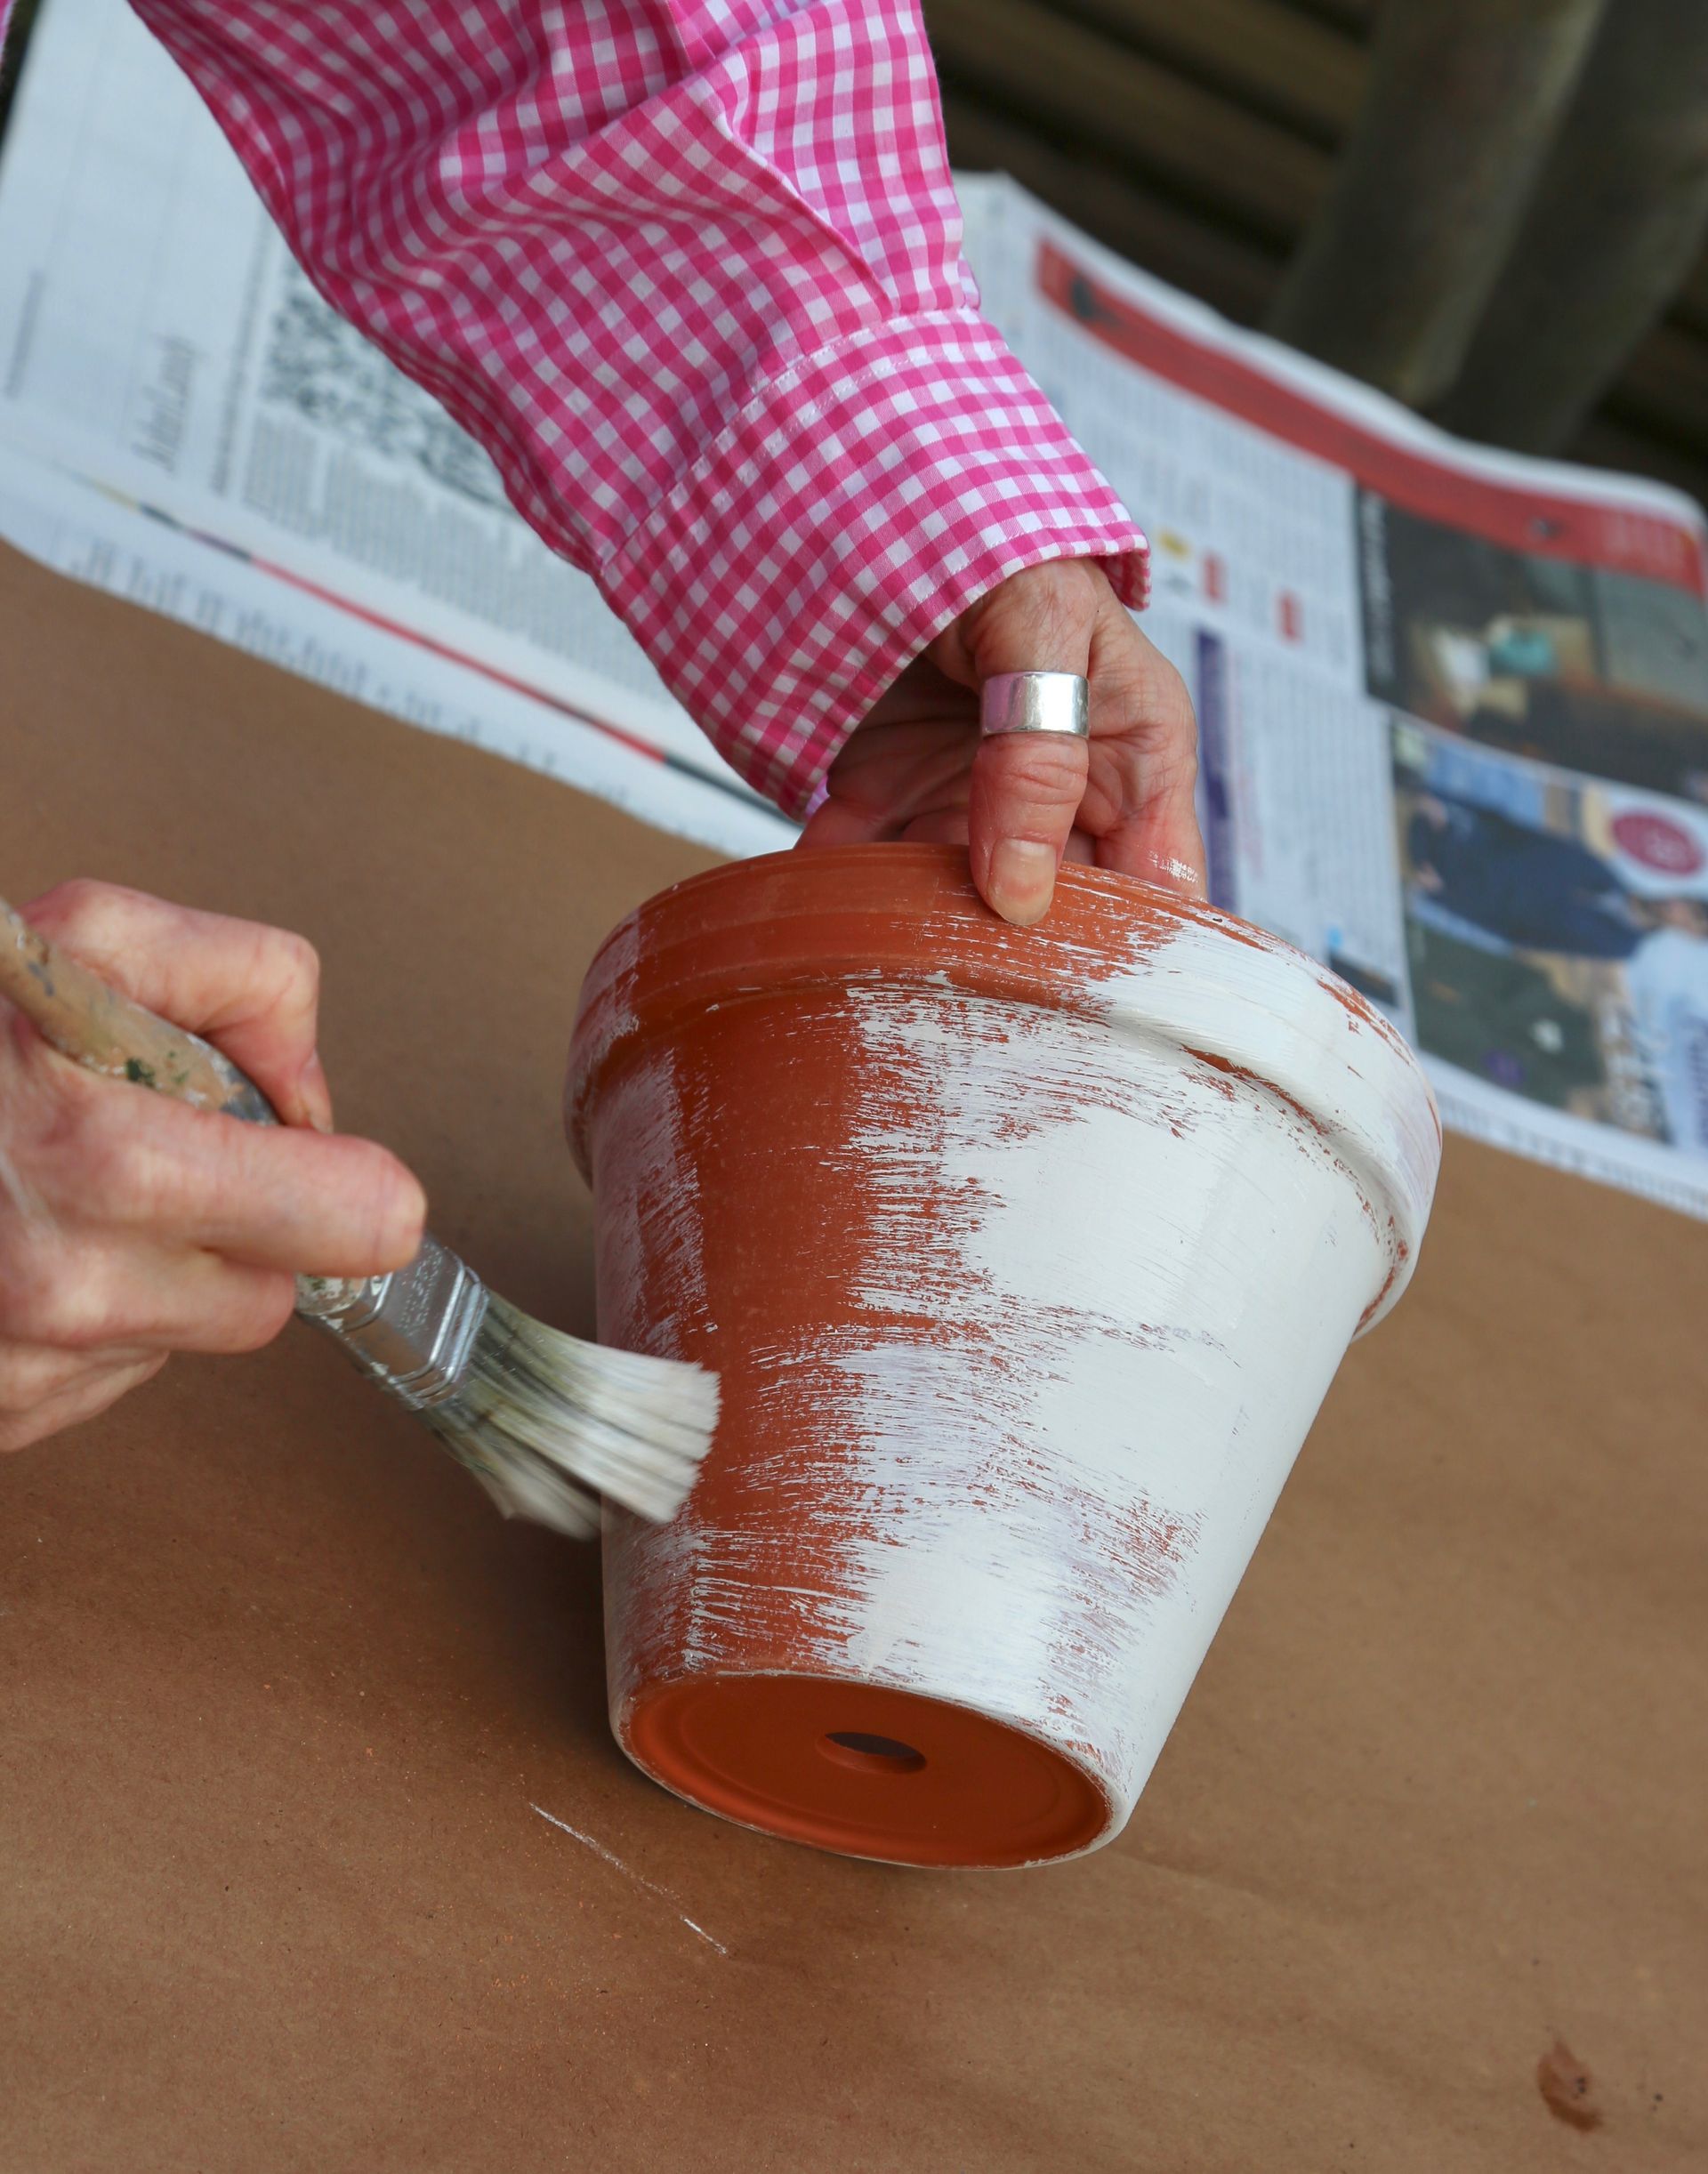
Tulips put on a show from late March to May and I have always found in my garden they do best in pots. It’s great to be able to group the containers creatively as the flowers bloom and replace them as they fade. While you can re-bloom certain types of tulips in subsequent years in flower beds (and I would do that if I had large flower borders or wilder grassy areas to plant them in) for my front garden, I view them as an annual treat. And if you want a reliable, resplendent display, then ordering new tulips each season is the way to go.
NB:
All parts of the tulip, from bulb and stem to leaf and flower, are toxic to cats and dogs, so plant with diligence.