Ageing Terracotta Pots
How to ‘age’ terracotta pots super-fast
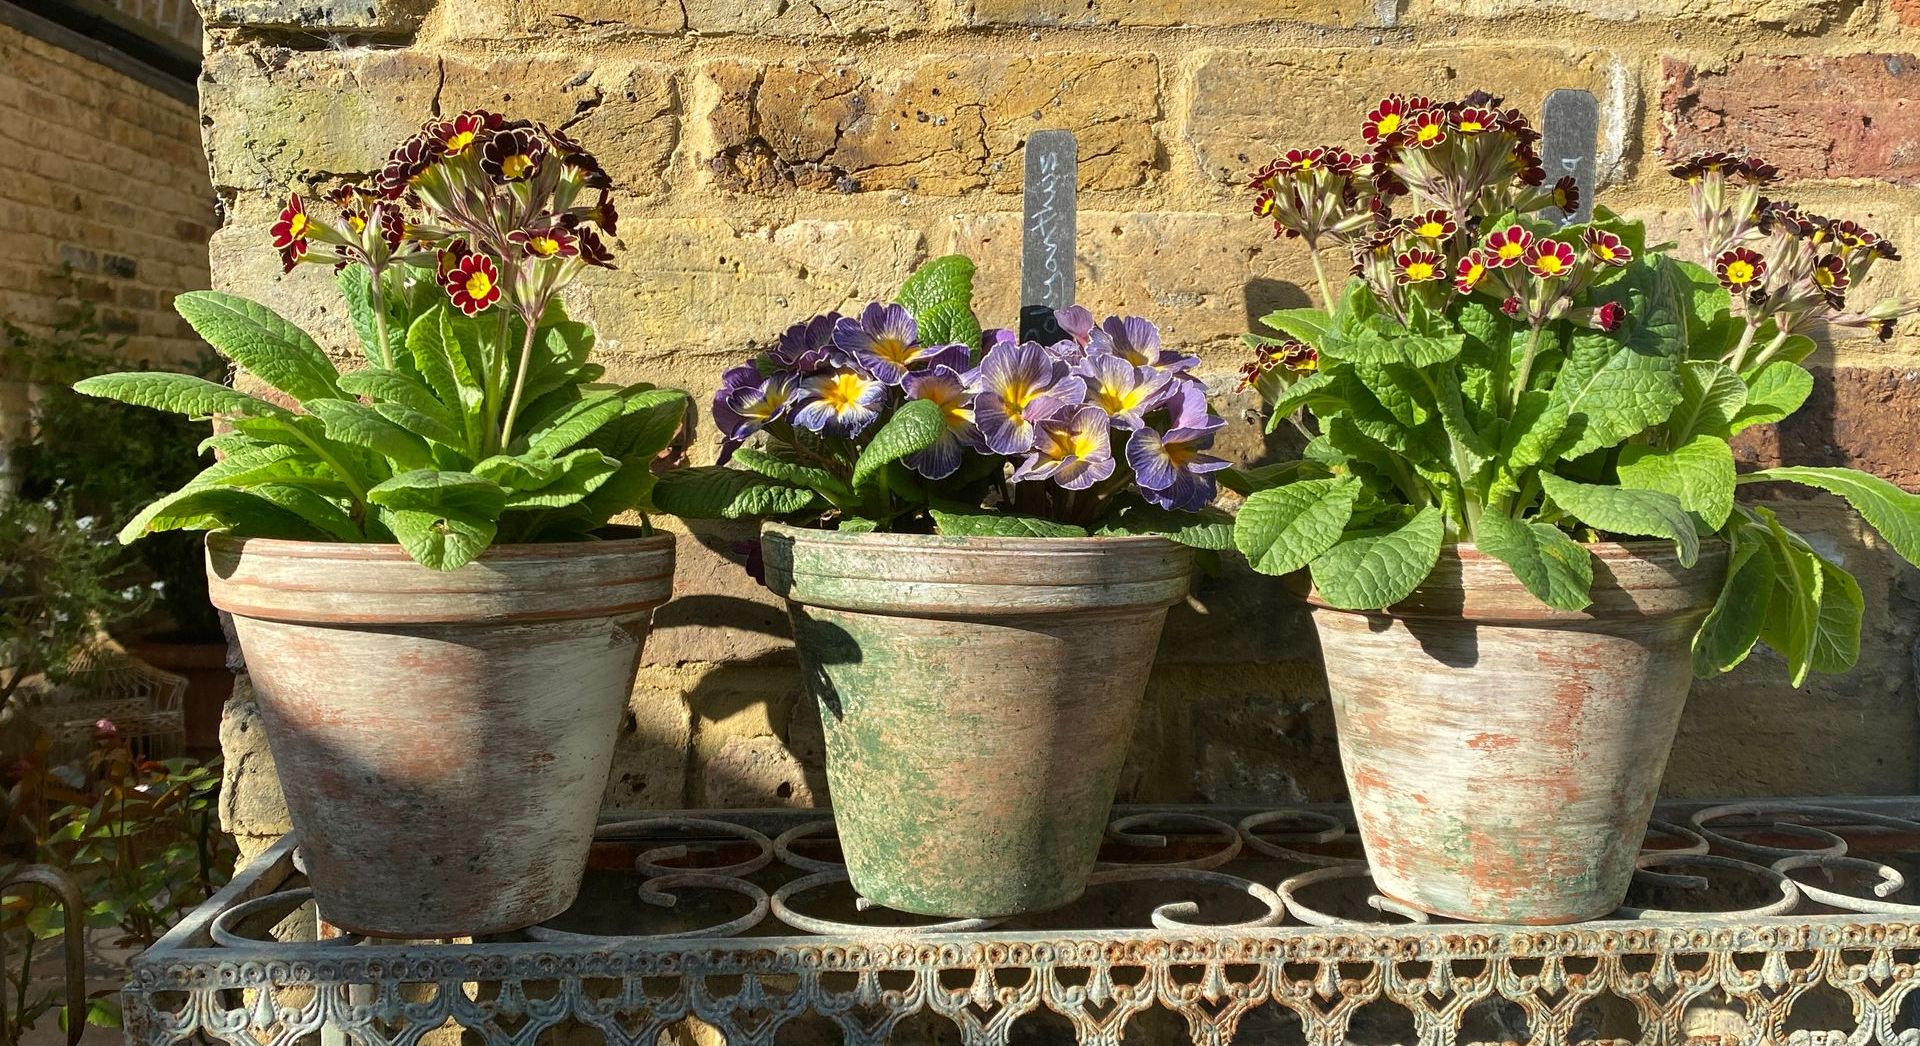
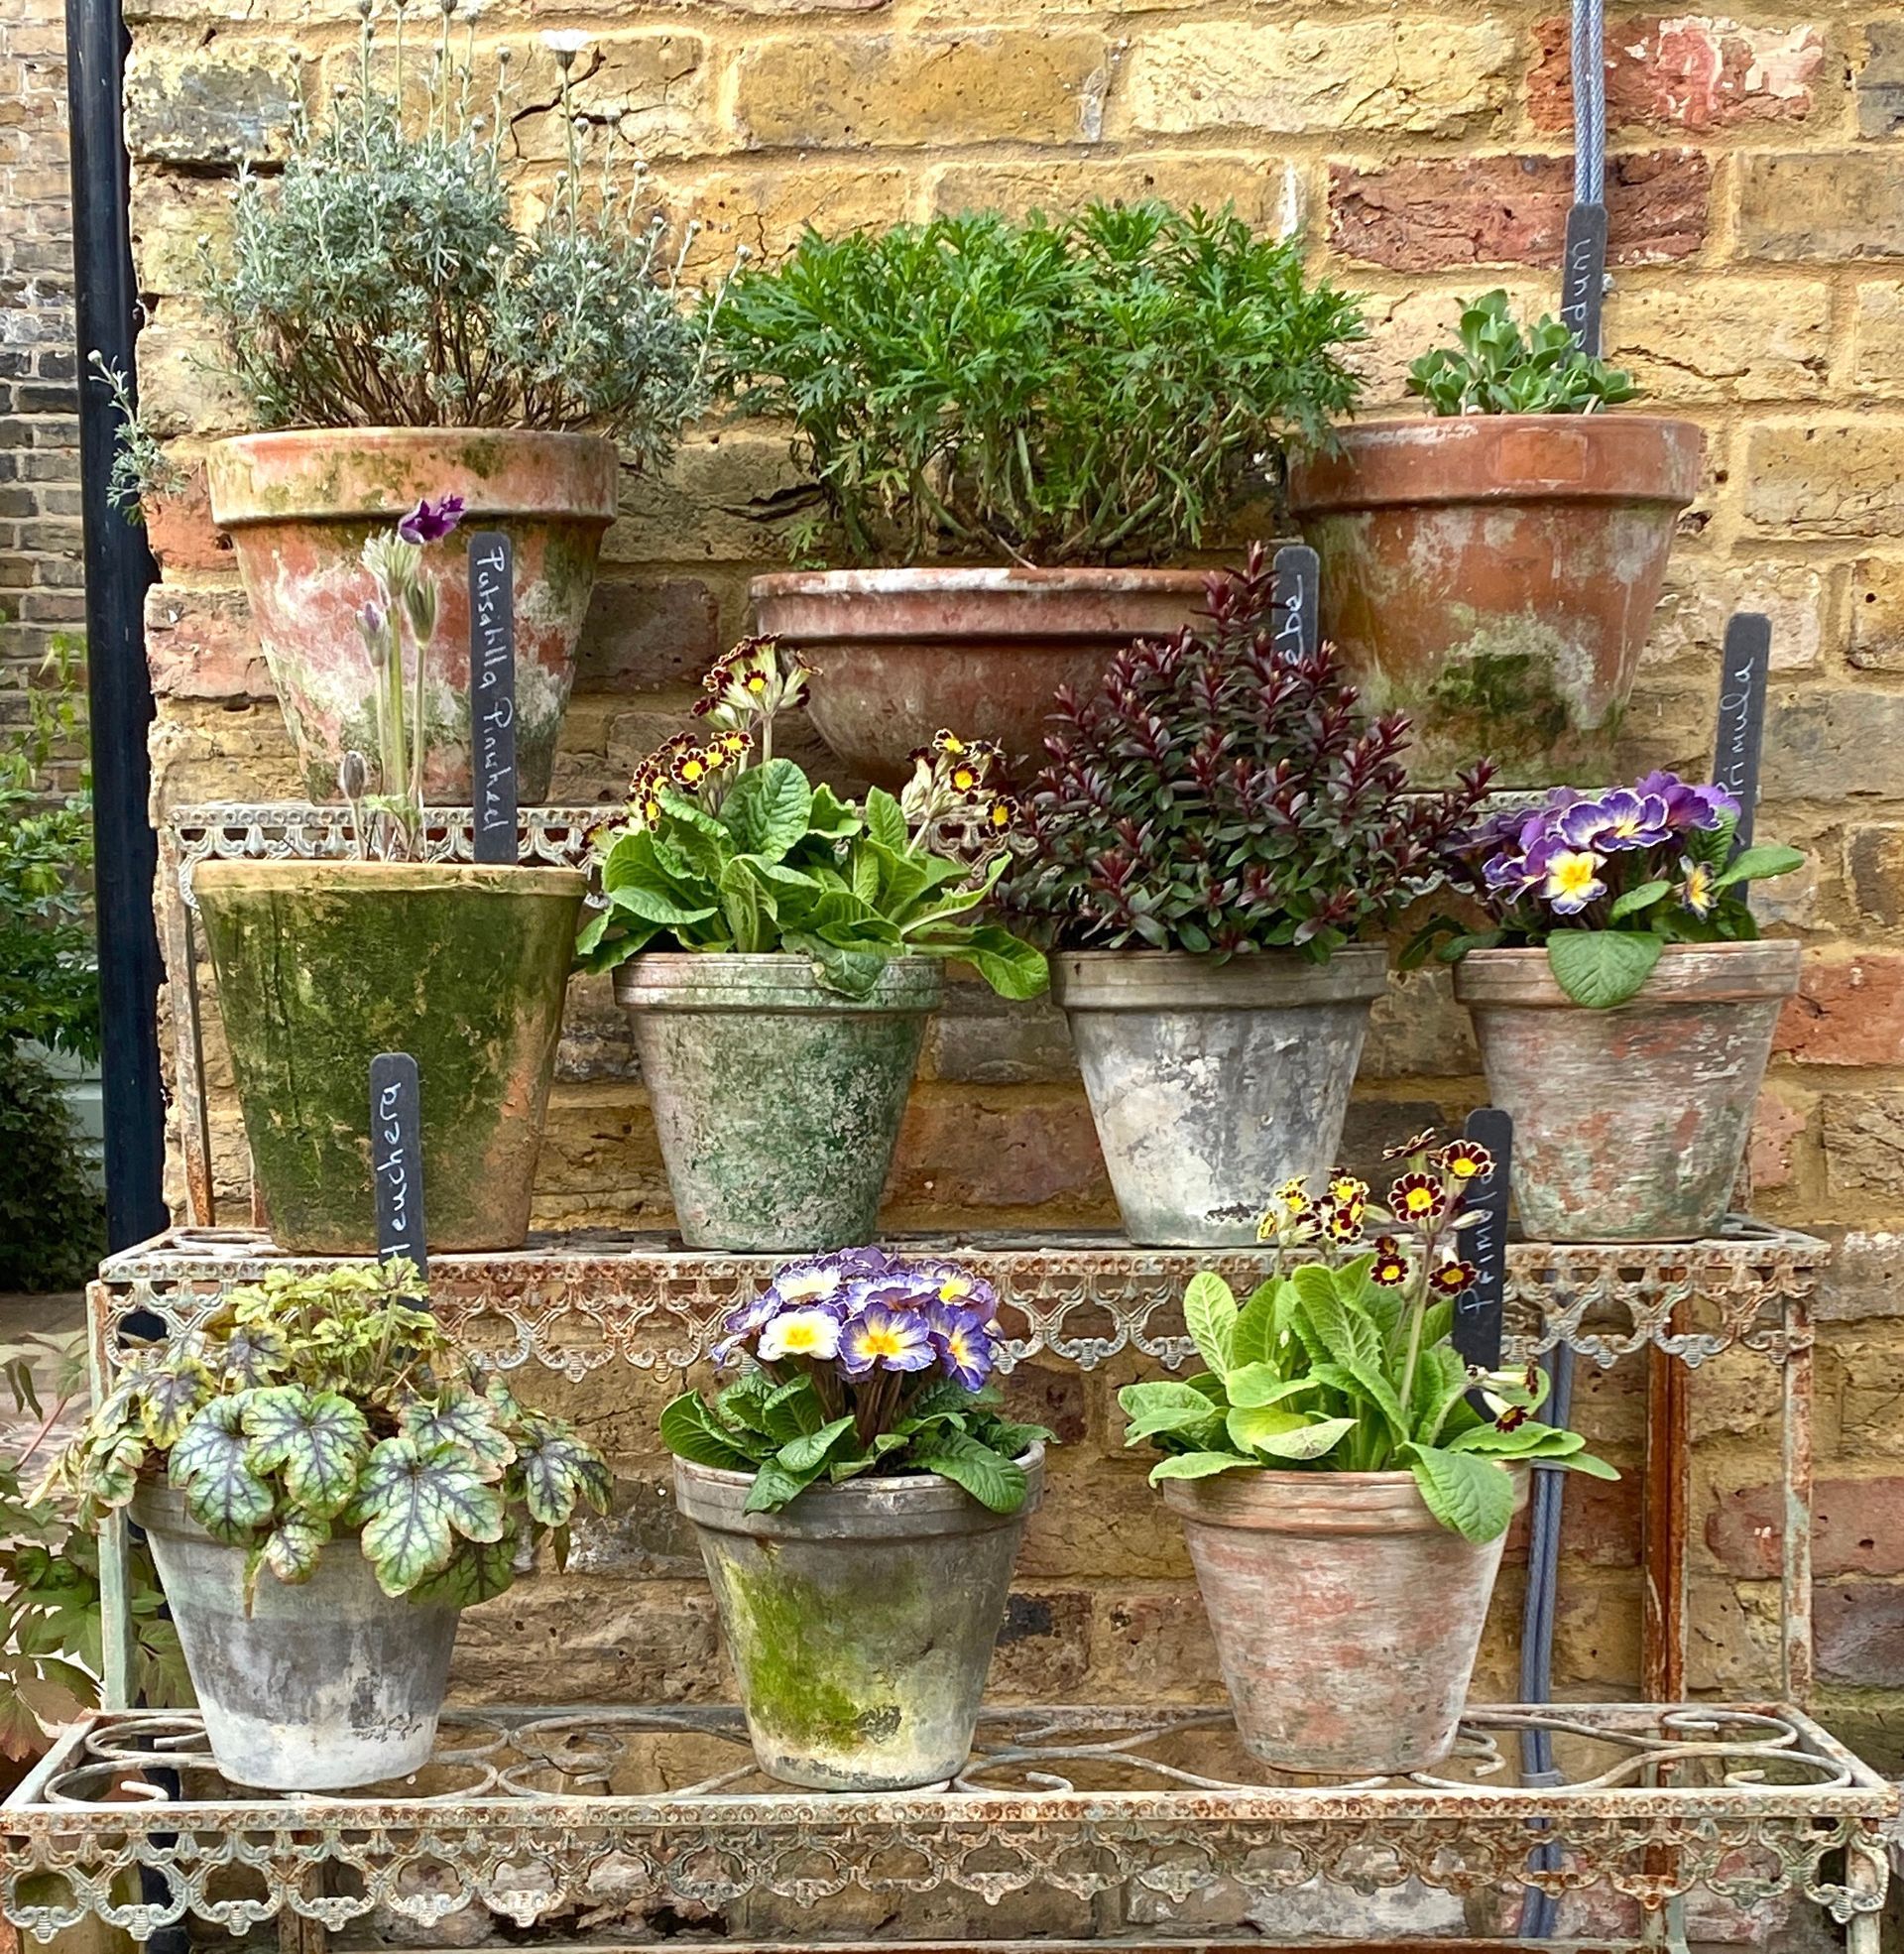
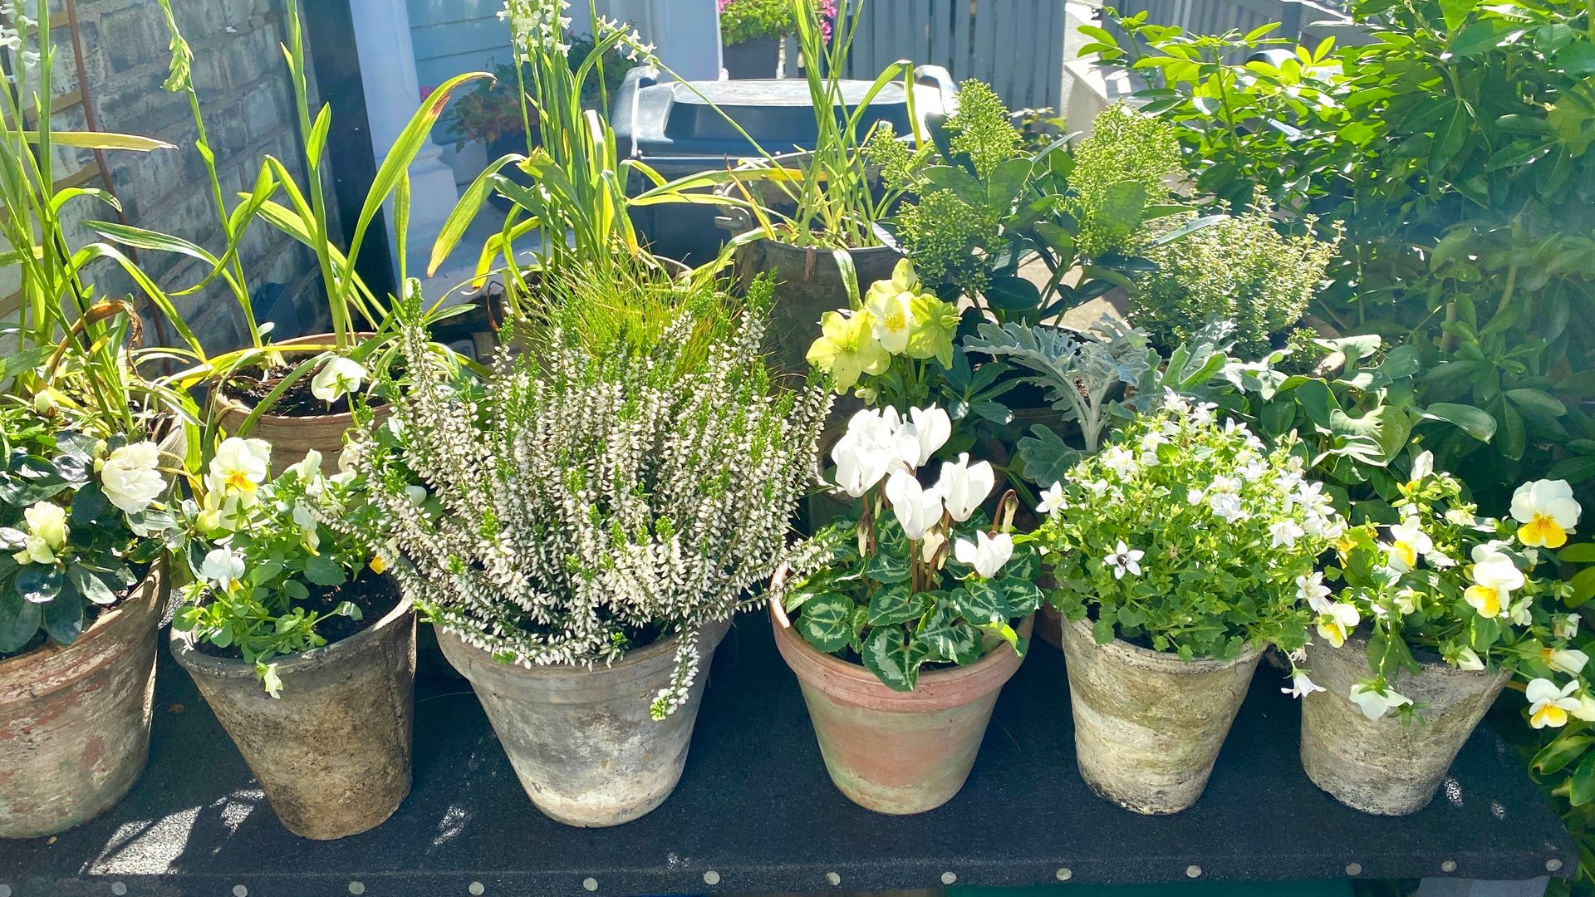
Some items look great when they’re box fresh: trainers for best; a white cotton shirt; a linen tablecloth. But when it comes to terracotta pots, I prefer mine a bit beaten up and weathered. Green with mossy softness and washed with powdery white clouds, a patterning called ‘efflorescence’. As terracotta is porous, it allows salts, calcium and other minerals to leach from the soil, fertilisers and water, causing staining to accumulate. Terracotta’s porosity is a good thing. It provides a beneficial environment, allowing moisture to wick and air to circulate around the roots of plants.
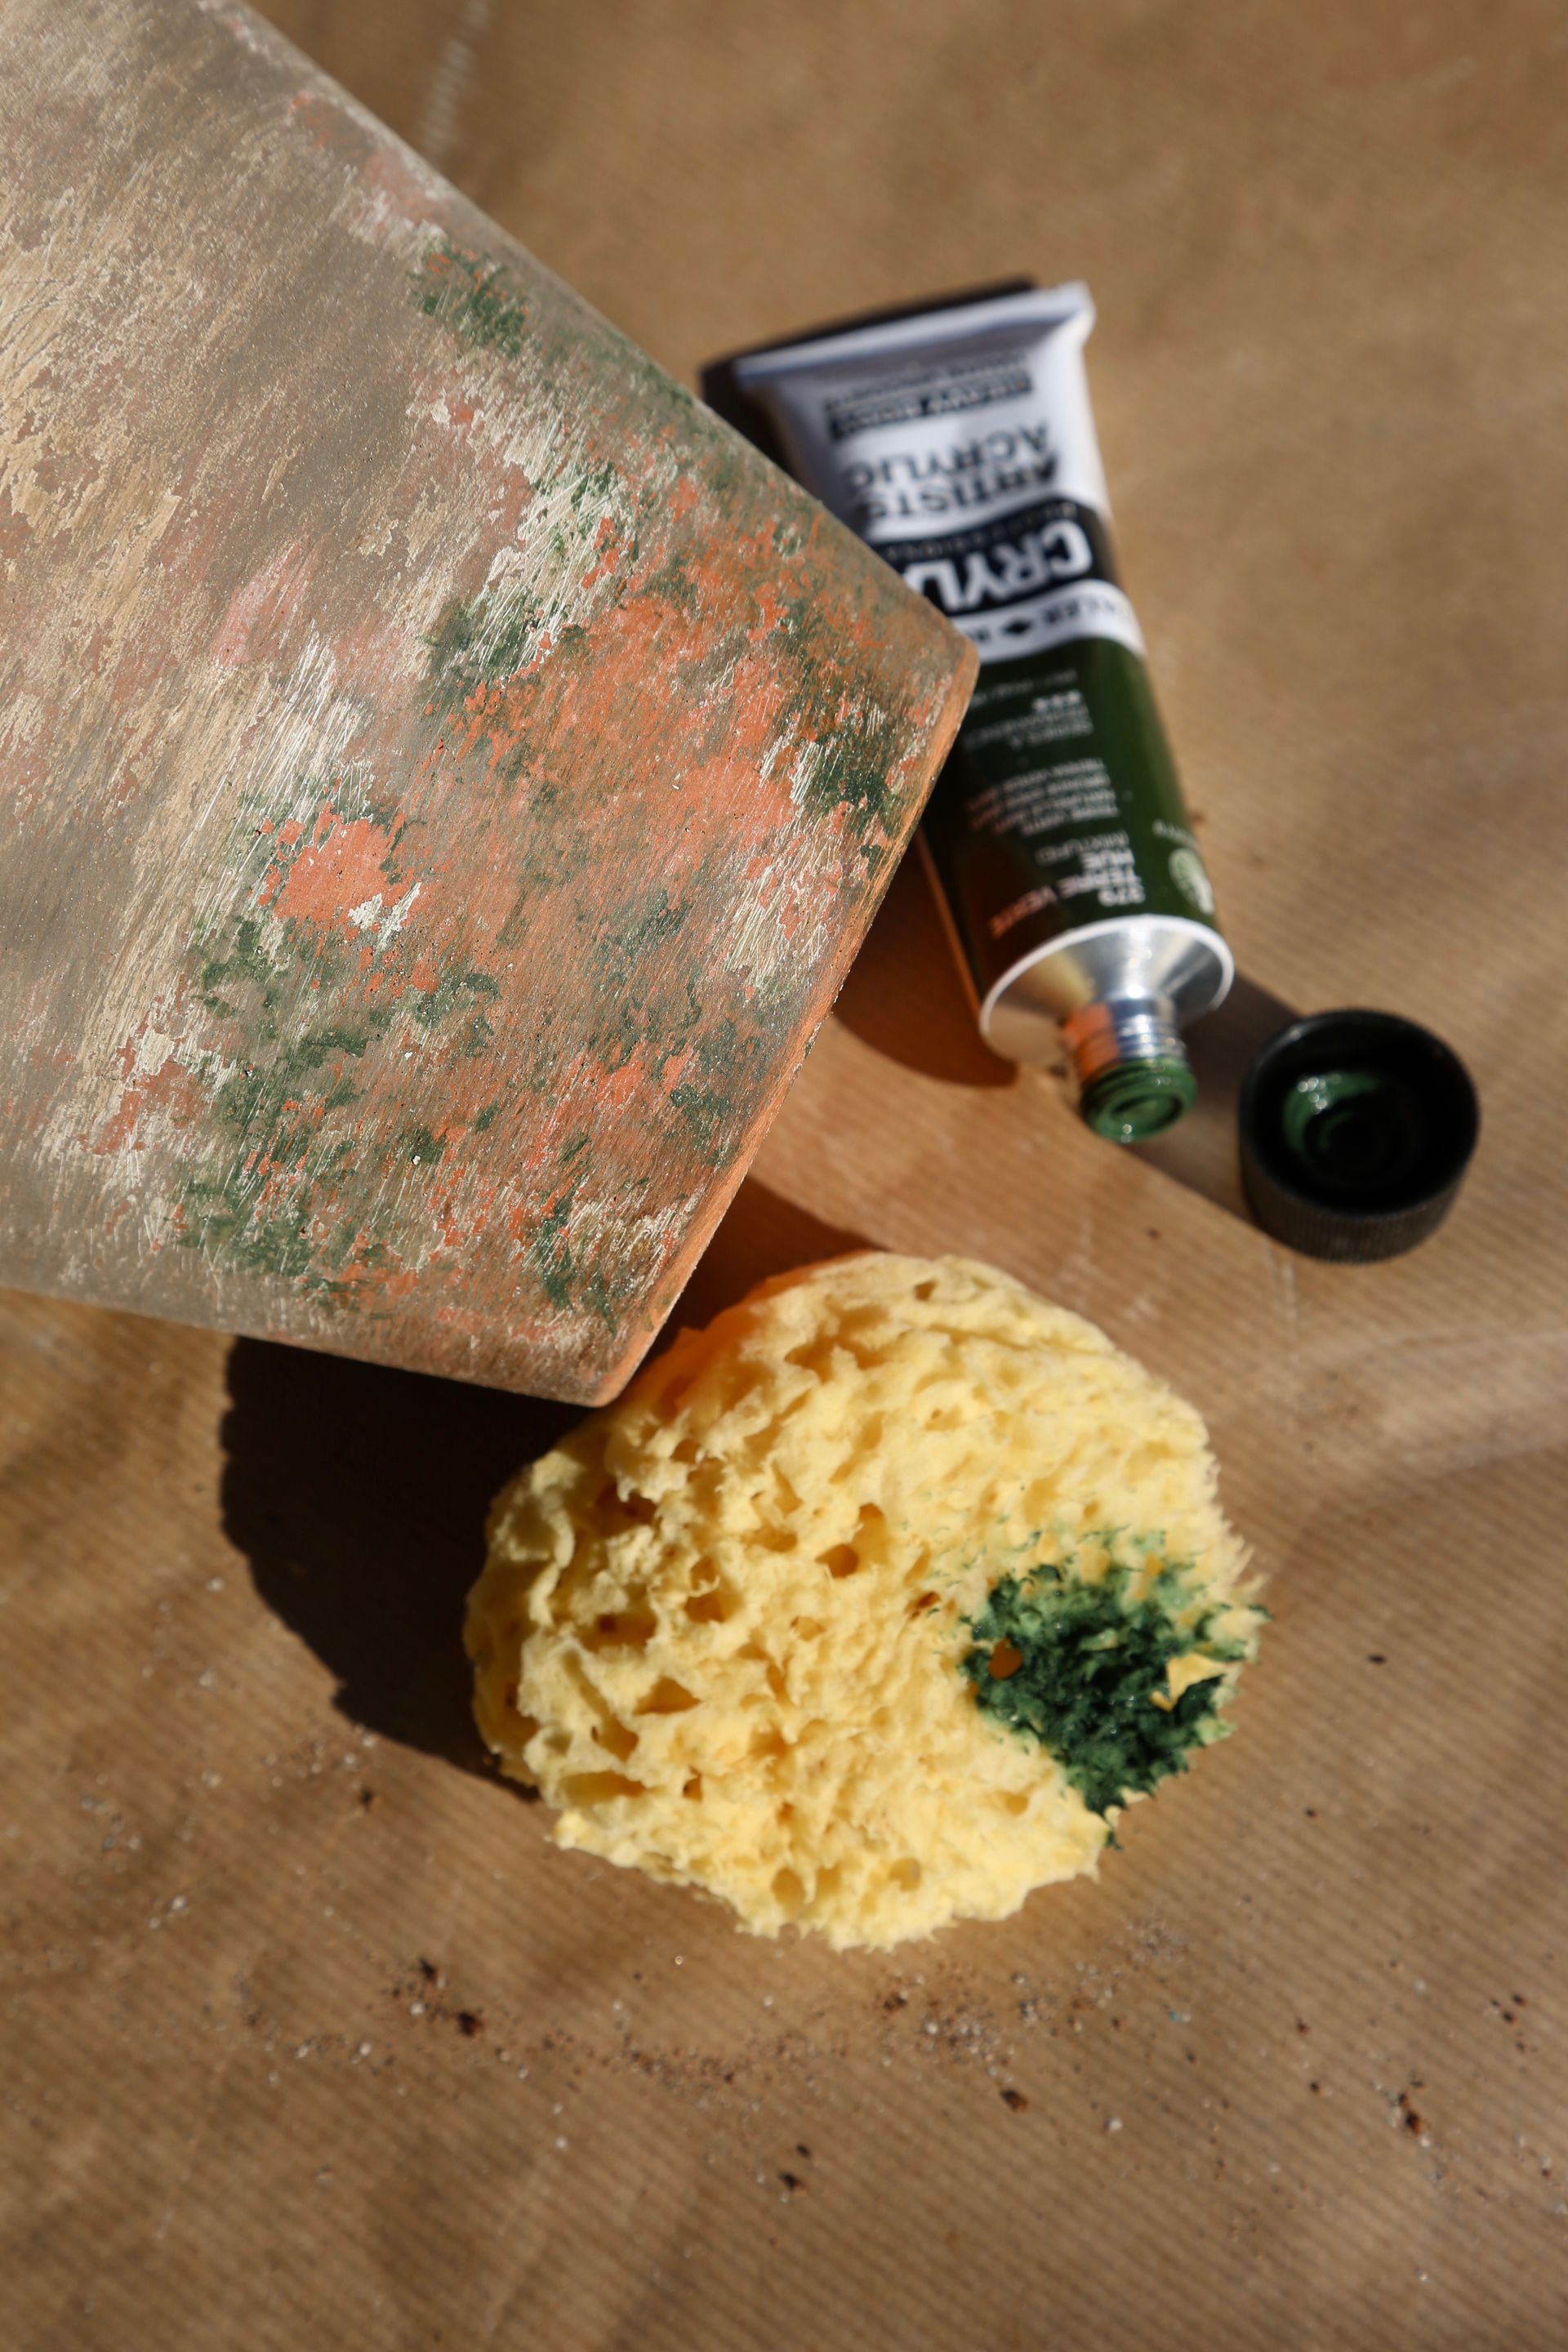
Algae and moss add verdancy, usually more prevalent when pots have been left is a shady corner. Personally, I love that look of creeping velvet, just as I like the frosty, salty filigree. But then I even like to see some spattered dirt, a sign plants have had a good soaking from the heavens or hose.
So desirable has this antique look become that authentic old containers are highly sought after. And expensive. It’s also why many companies manufacturing pots give them some faux ageing. However, that knocked about and ever so slightly knackered appearance, ramps up the price.
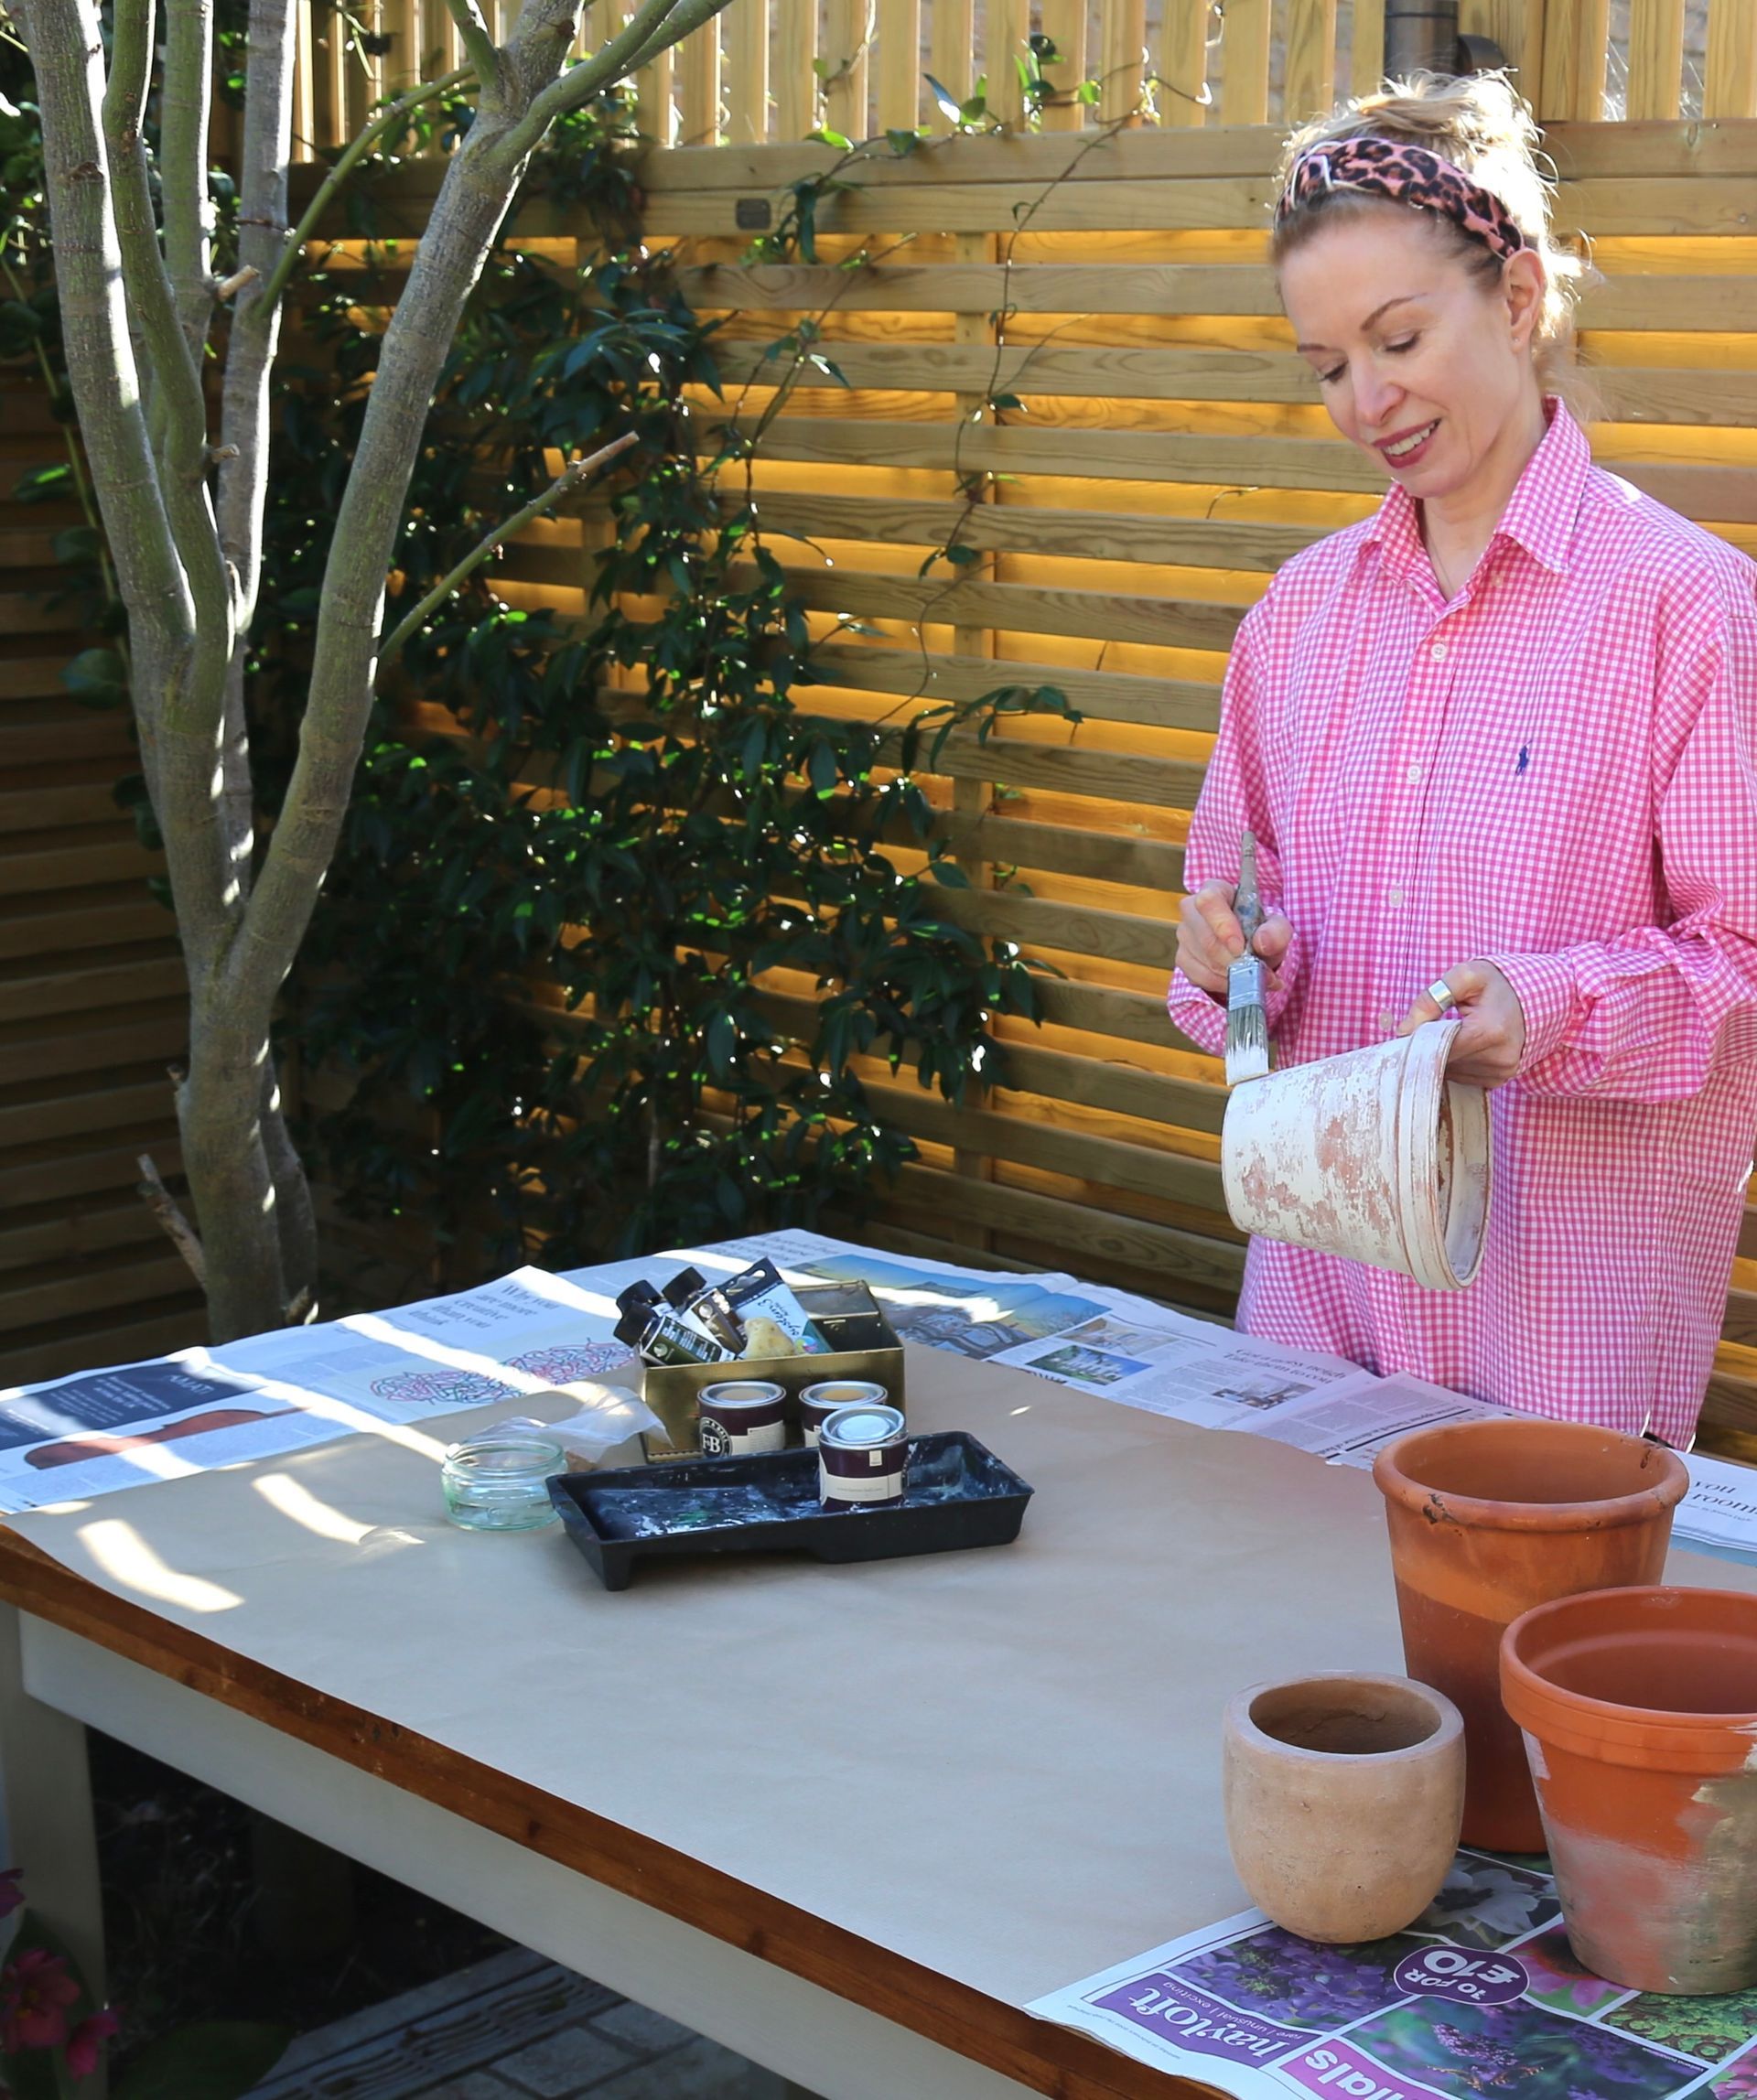
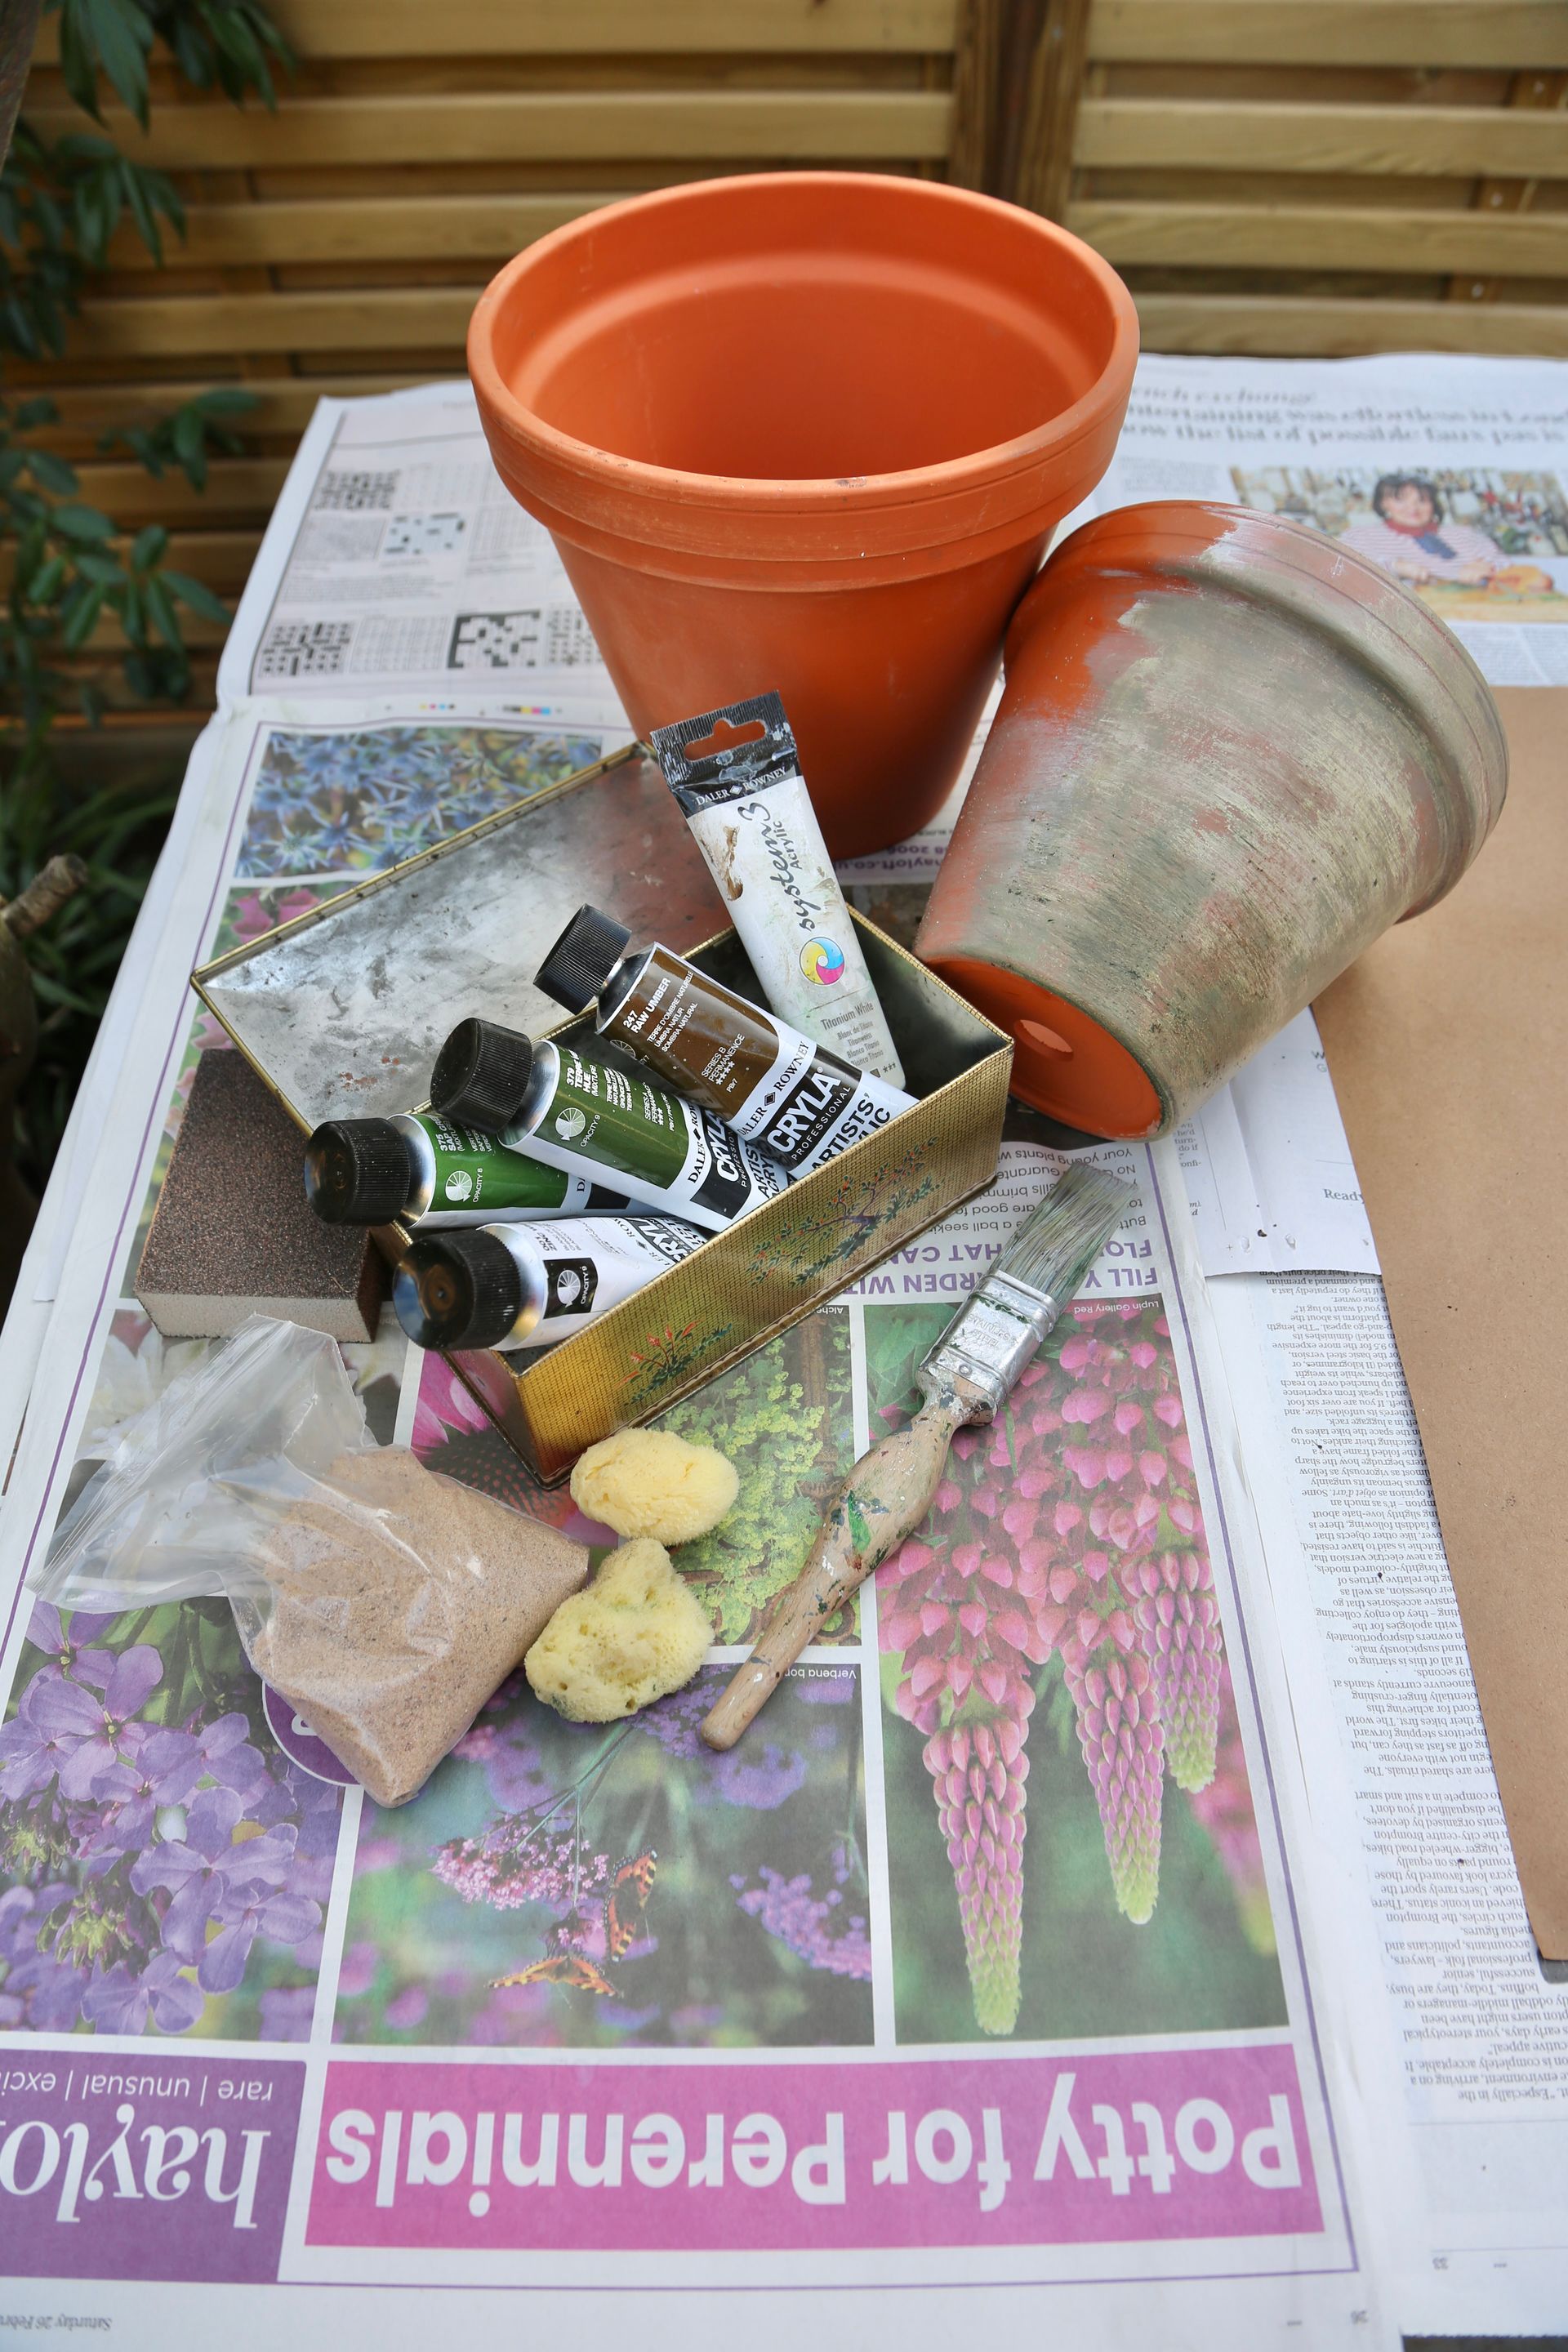
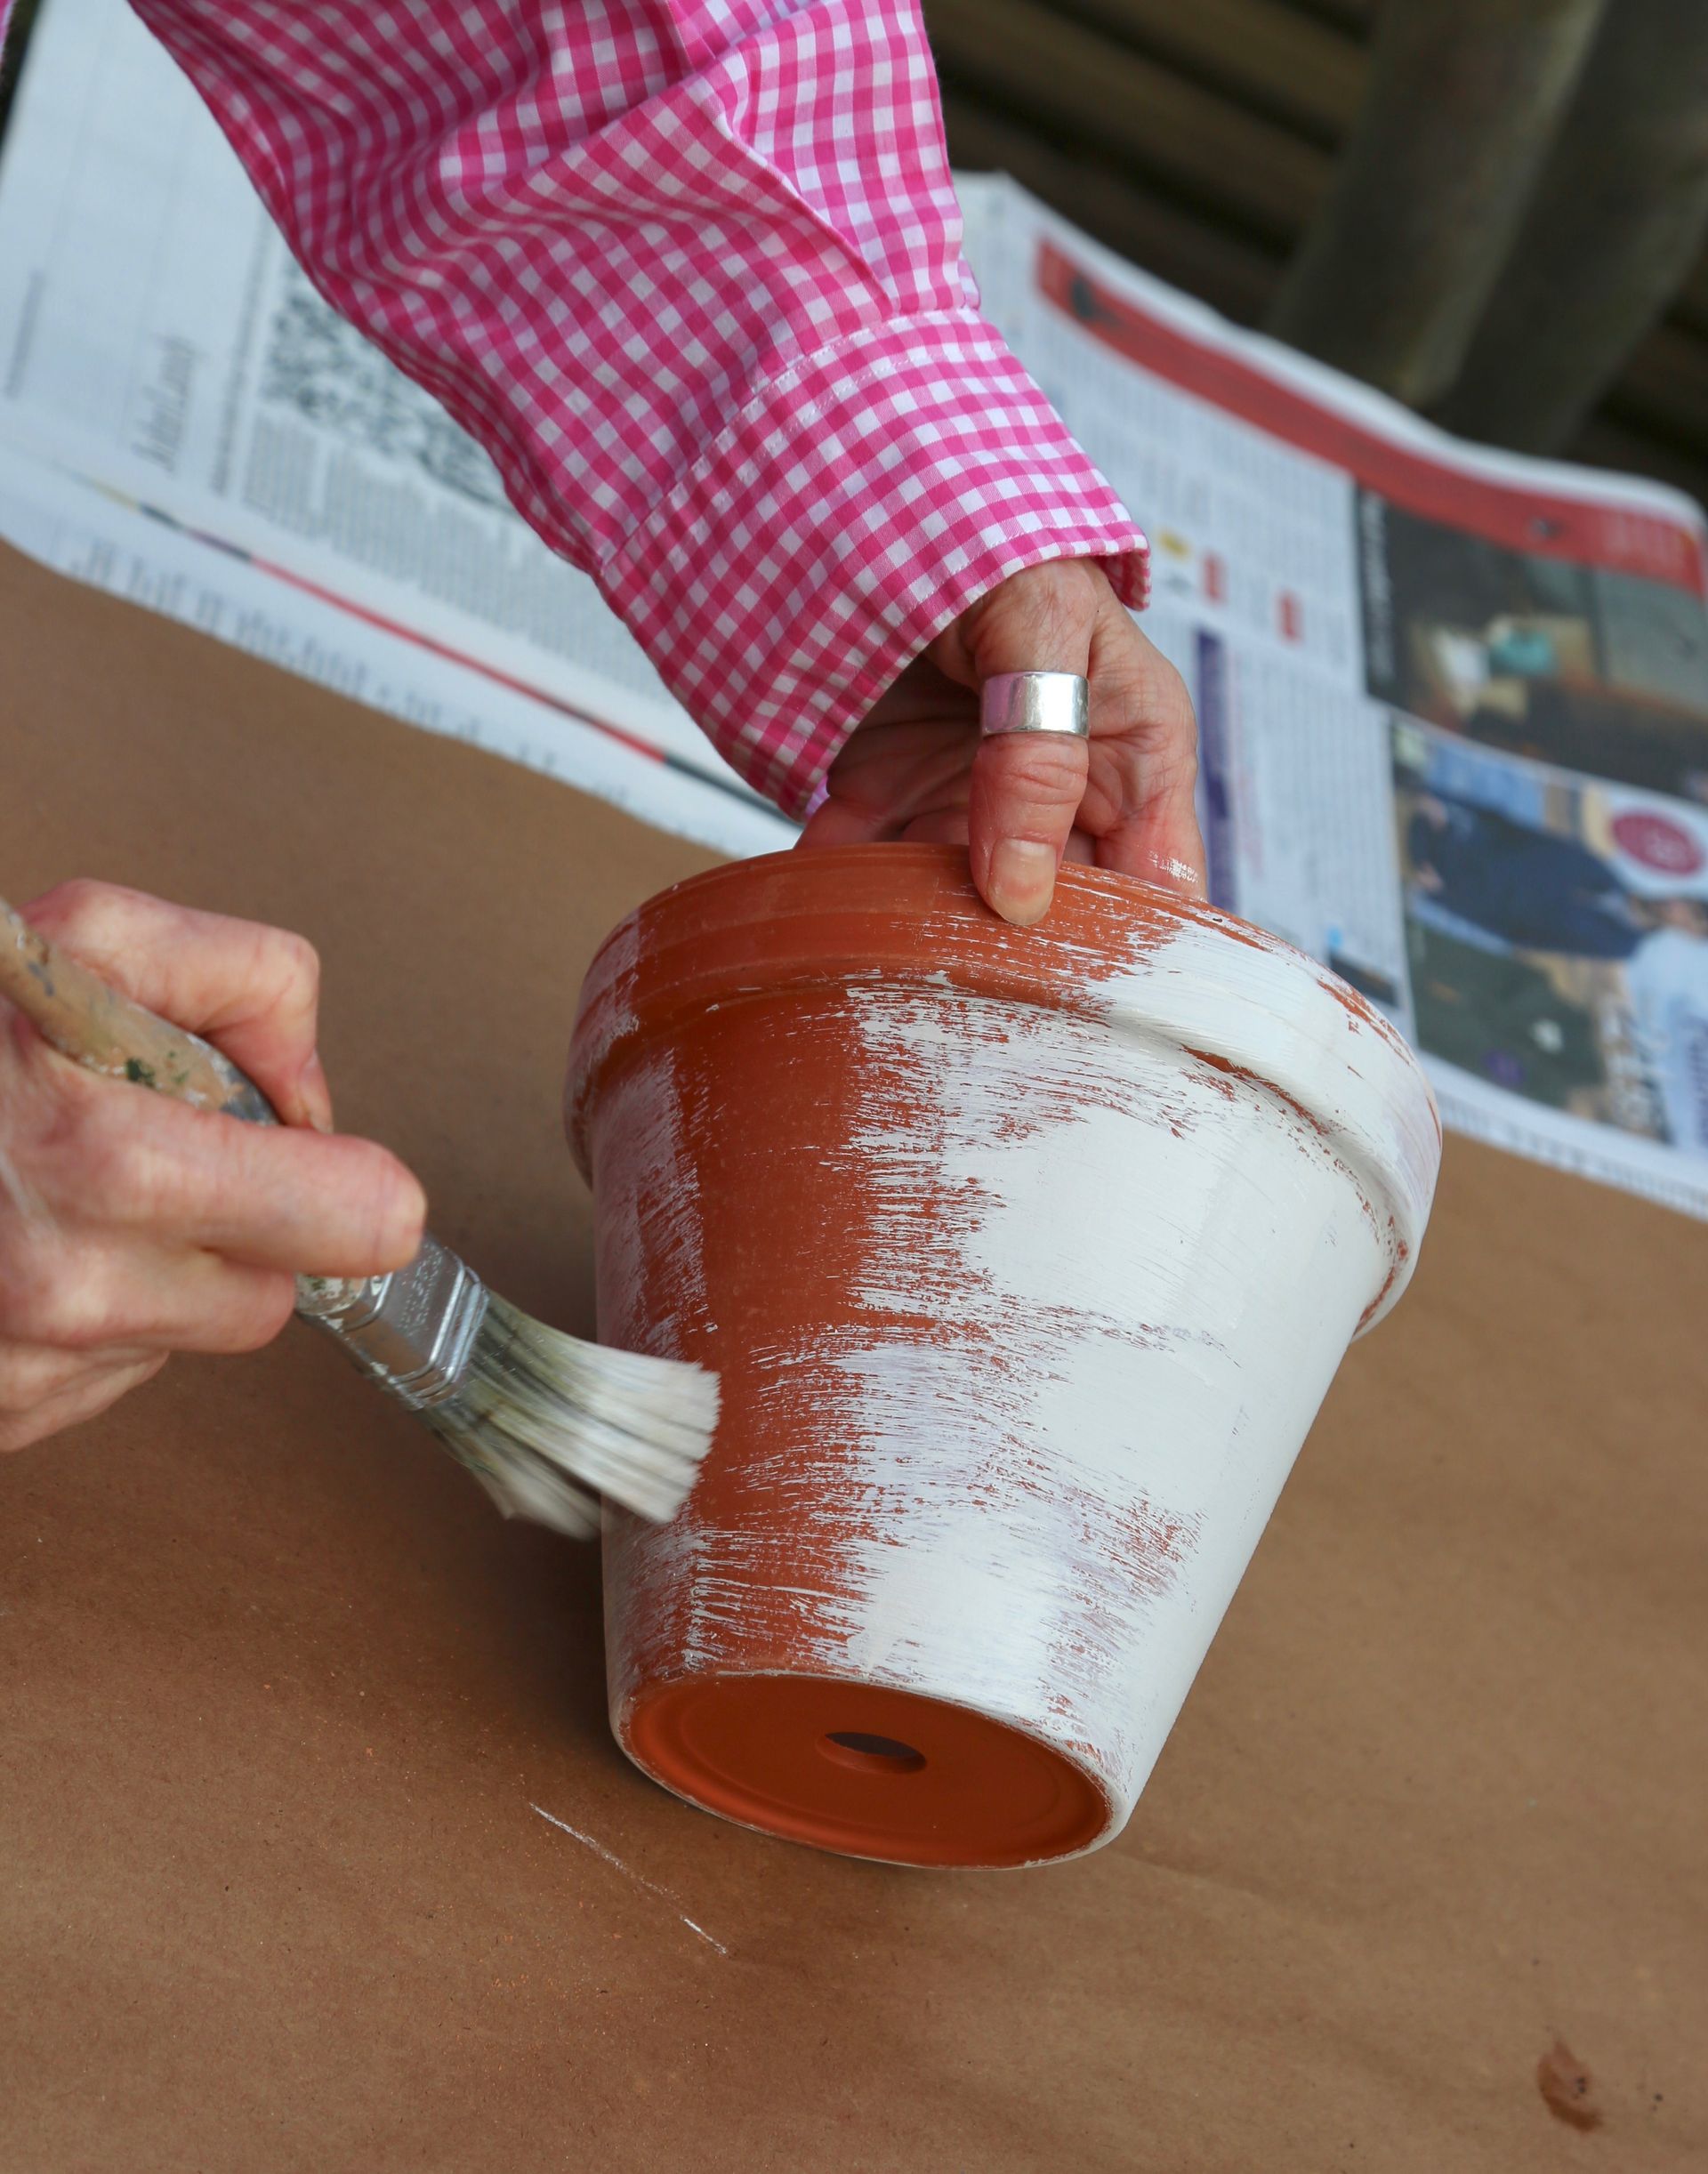
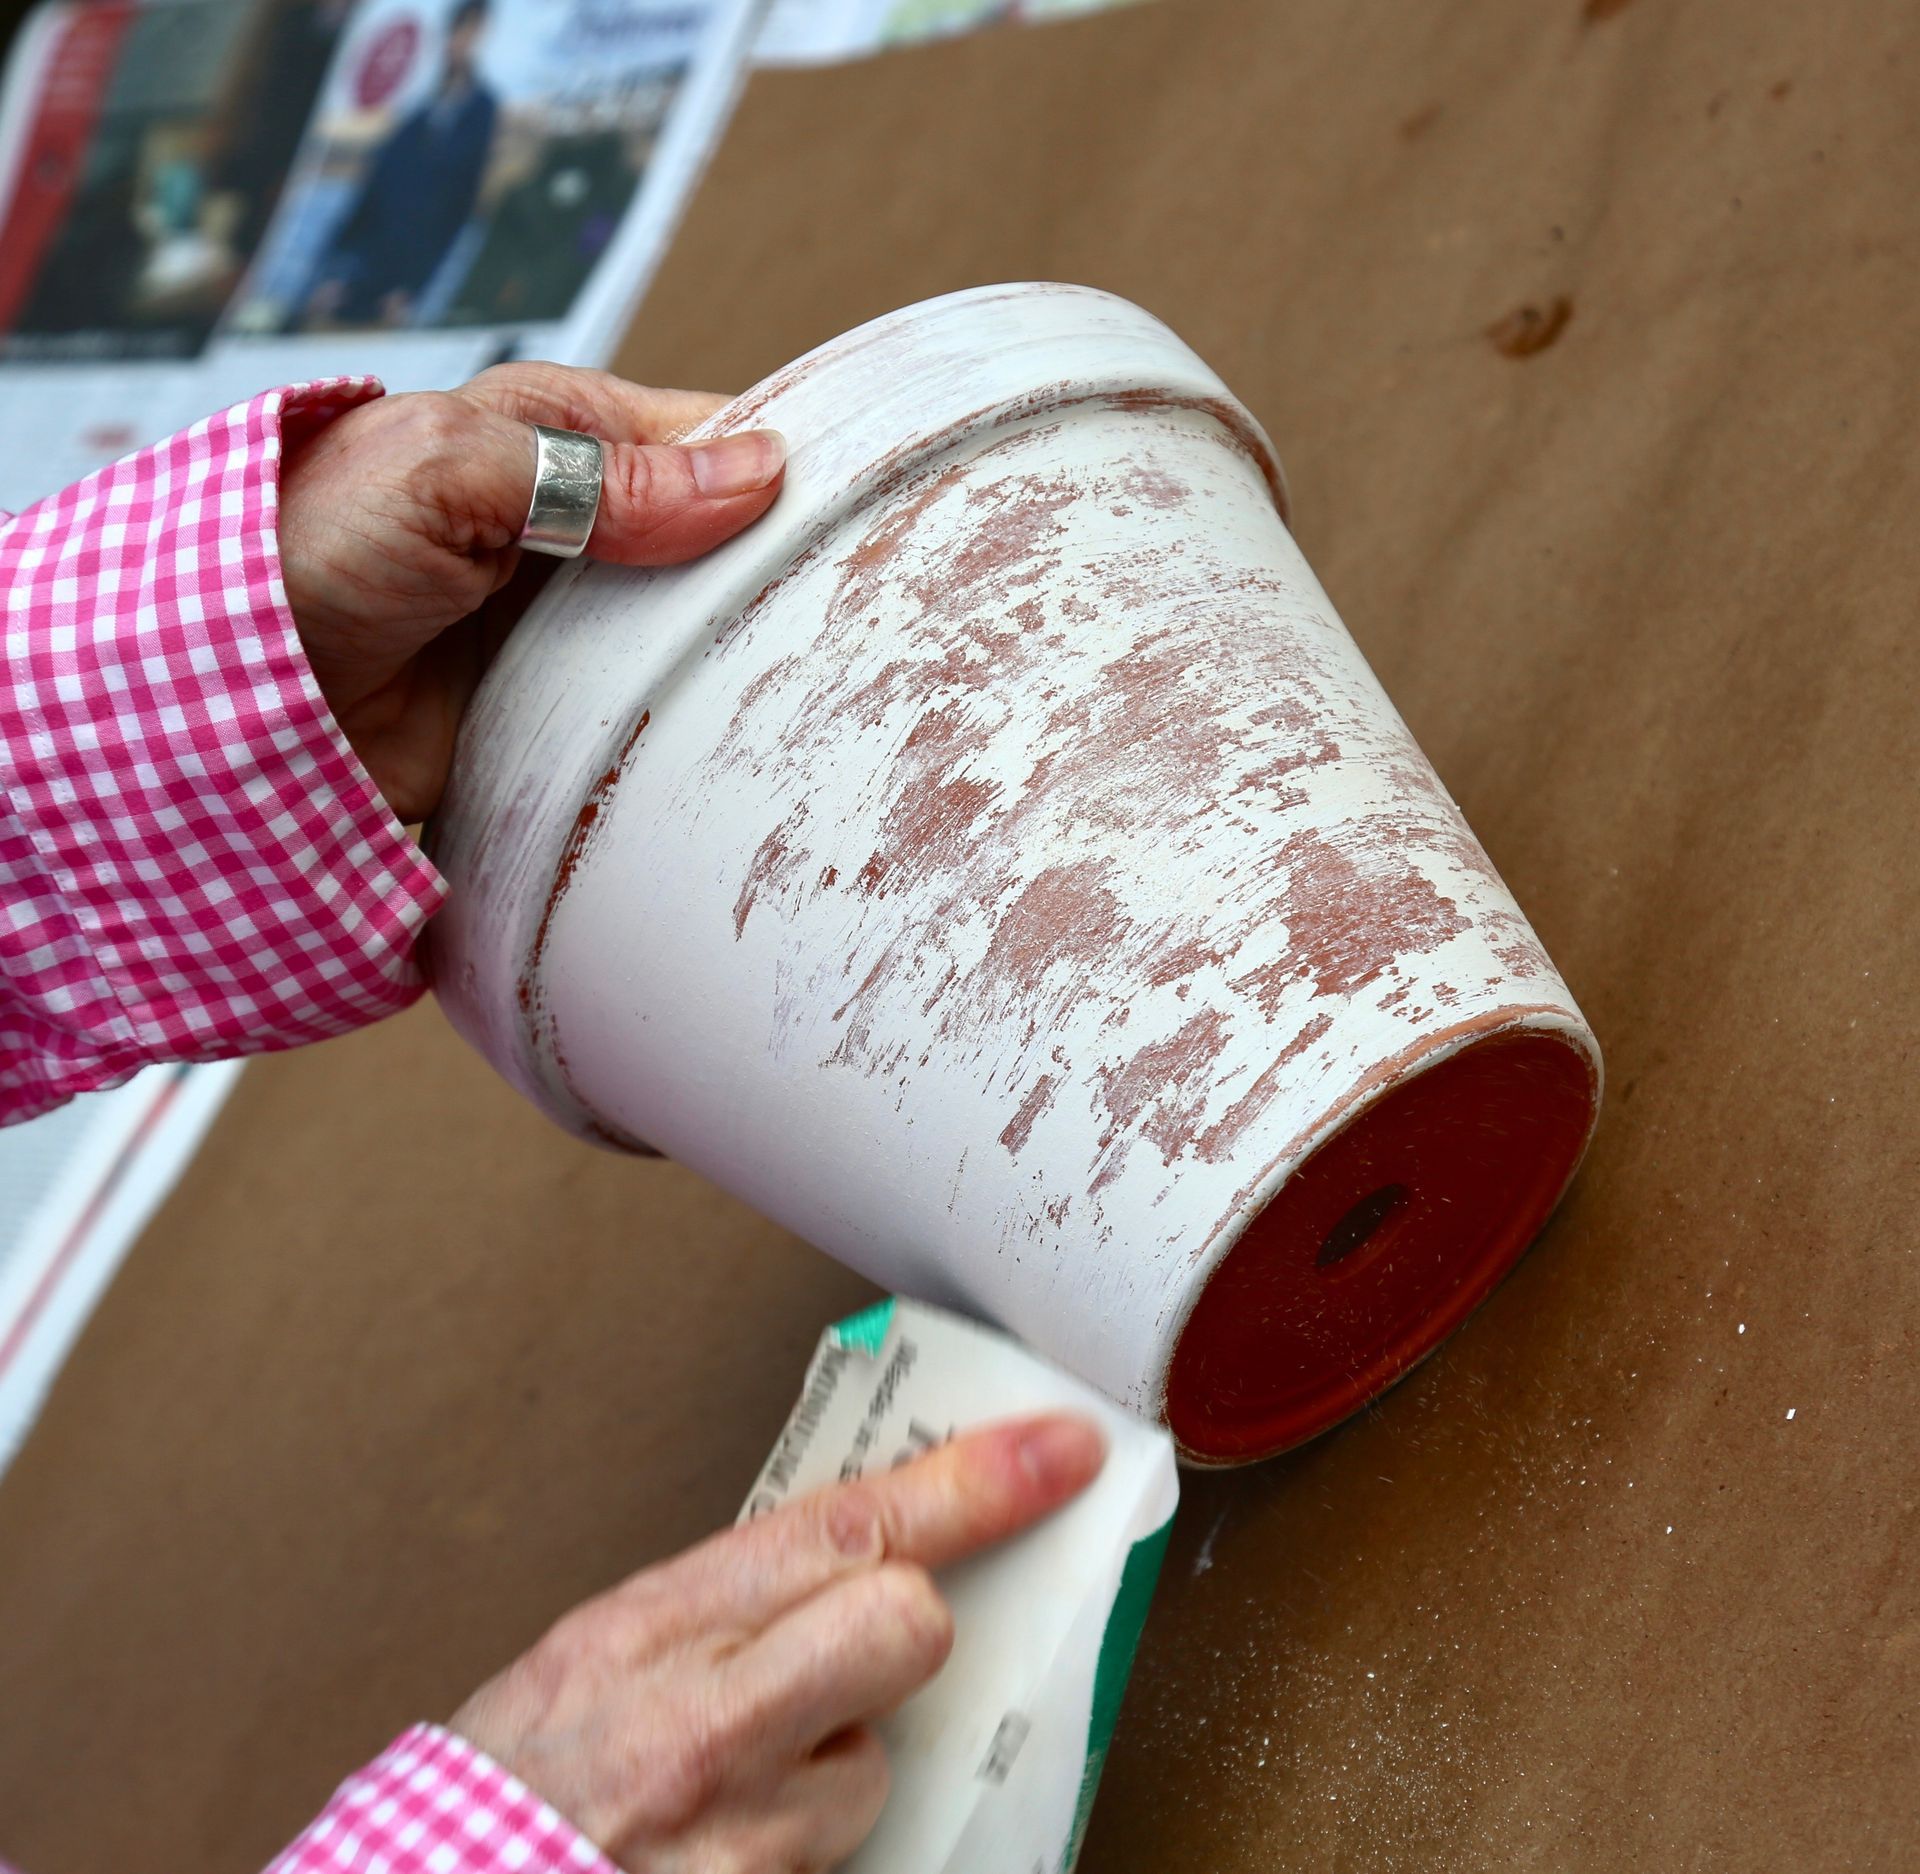
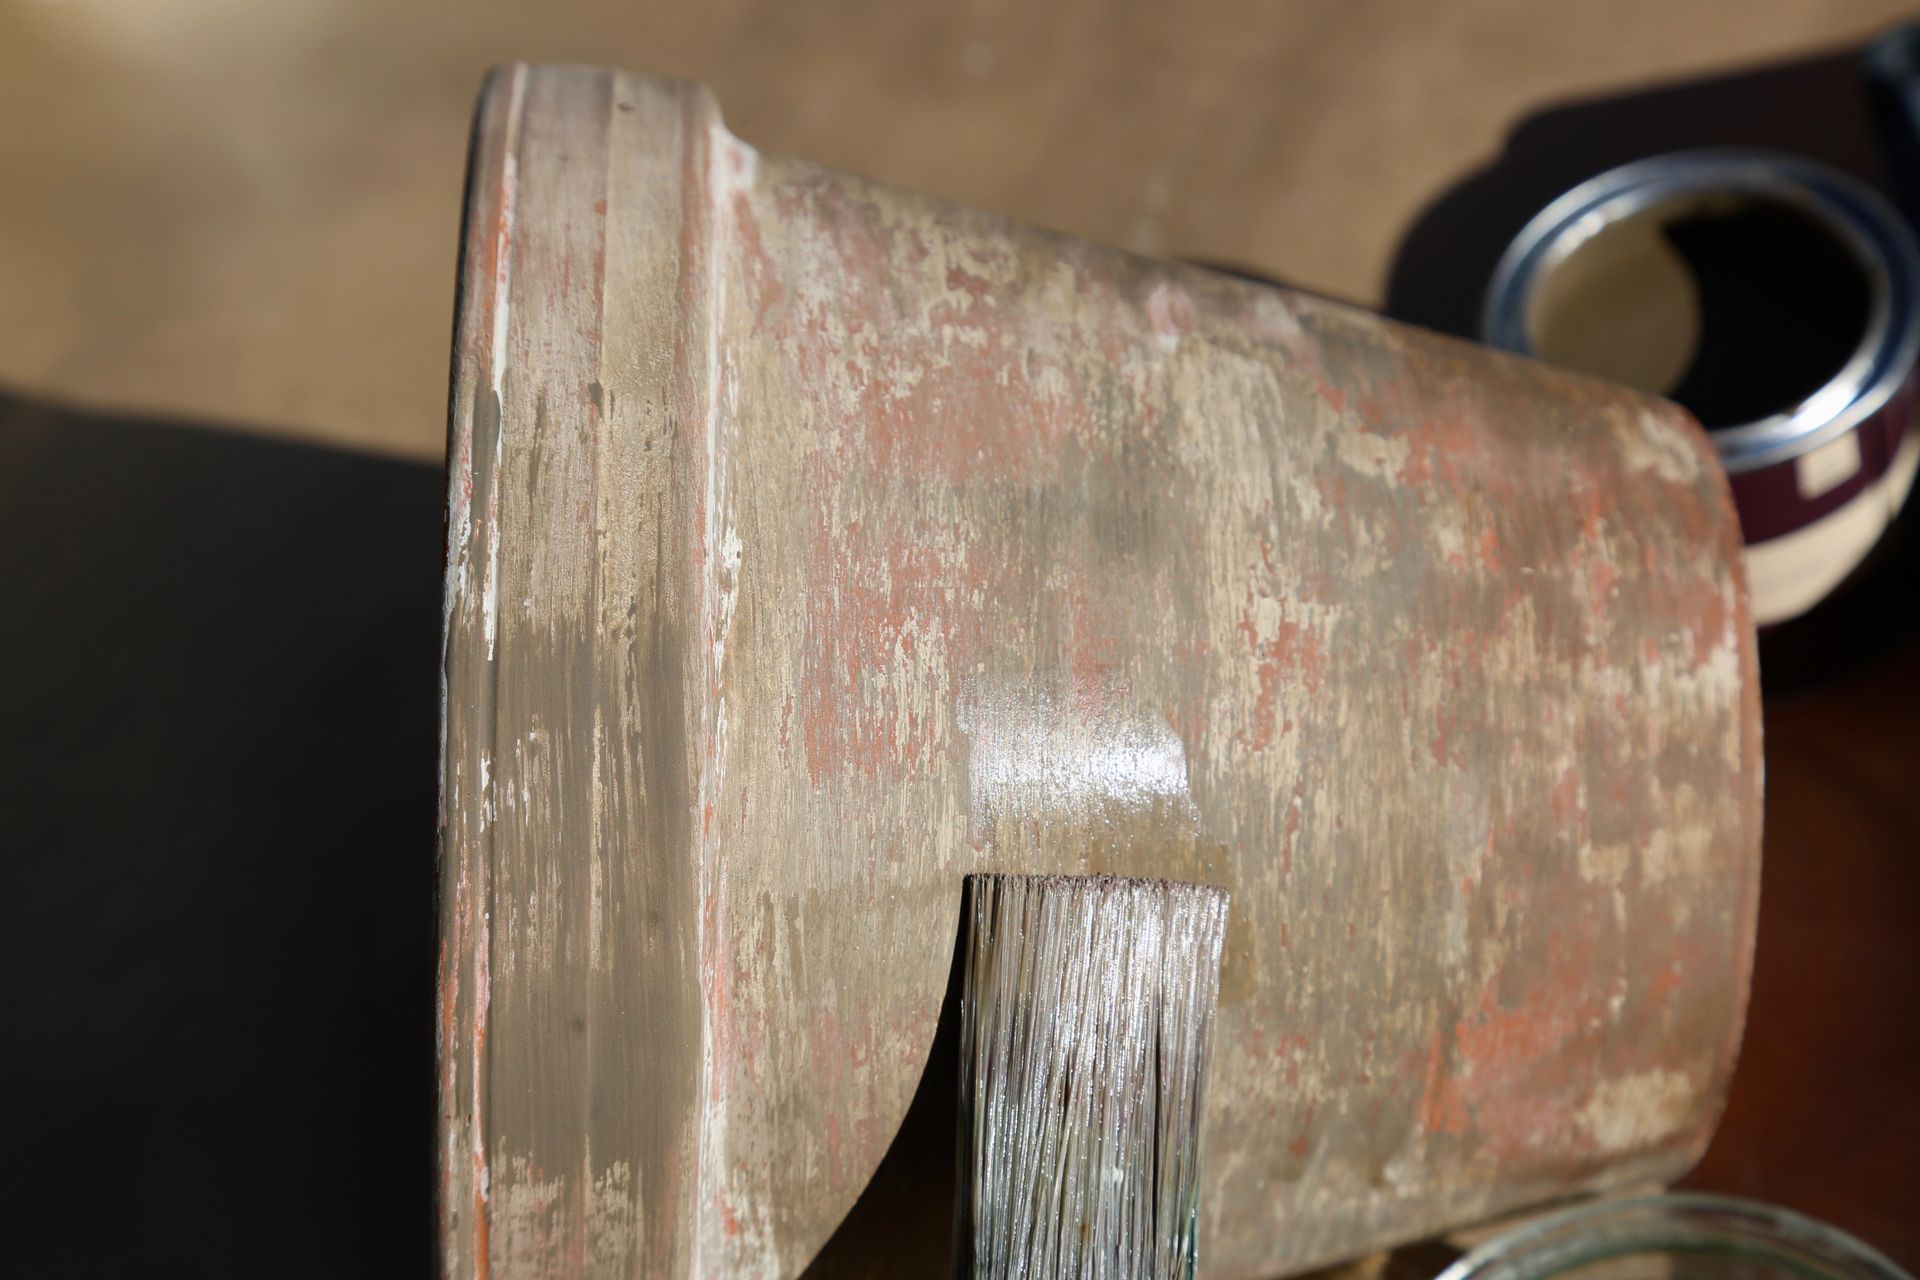
In order to try to reproduce the shabby-chic look myself, I tried that much-talked about trick of covering them in yogurt to culture some crud but the pots just felt a bit slimy for a while, then flakiness appeared. Plus the process seemed painfully slow. So now, I opt for the ten minute makeover and paint them (the only pots I wouldn’t treat are those destined for edible produce).
Eventually, as your artwork fades (the effects of water-based paints, which I use, won’t last forever) and nature’s hand becomes stronger, the two meet and meld rather wonderfully. When I posted a collection of much-prized pots on Instagram, Diarmuid Gavin commented how much he liked them. I was well chuffed. After all, that’s like Mary Berry complimenting your Lemon Drizzle.
Pot Luck
Economy, machine-made terracotta pots tend to have quite a dense, close texture with a slightly shiny finish, compared to handmade varieties, which have a more soft, organic feel to them. However, if you’re going to distress pots with paint, you can easily work with the inexpensive varieties and experiment without worrying you might mess up something precious. These cheapies also crop up in other colours such a greyish brown, an equally good base shade to work on.

Materials you will need:
∙Terracotta pots
∙Sandpaper – fairly coarse
∙Paint – either acrylic craft paint or household, water-based matte emulsion (sample pots are a good way to build a palette that appeals to you).
∙1 inch/25mm paintbrush (or similar)
∙A natural sponge
∙Small jar of water
∙Tiny amount of sand (optional)
How To
Weather Watch: You don’t have to follow these steps to the letter. Look carefully at how nature acts on surfaces and be inspired to try your own interpretations. Sitting and noticing such details is as therapeutic as it is artistic.

To give the paint something to ‘key’ onto, use a fairly coarse sandpaper to roughen the surface of the pot. Then, just as a painter washes a new canvas to subdue its glaring expanse, create a 'ground'. Use a dry brush to paint all the way around the pot. However, don’t give it full coverage - you want a haphazard effect with some areas painted and some barely covered. Don’t forget to paint inside the lip of pot as when it’s planted up, this area is still visible.
Lay the groundwork
Step 1
Before this layer has time to dry completely, scuff it up with sandpaper, working horizontally – when you sand just-tacky paint you can create an uneven finish easily - if you wait for it to dry completely, the effect tends to be smoother and more uniform.
Think asymmetry and happy accidents. And don’t forget to sand edges top and bottom so the terracotta shows through – natural patina doesn’t build up so much on crisper lines.
Scuff
Step 2
Paint and then roughen as many layers of paint as you wish, concentrating colour in some areas and leaving other patches relatively raw. Use a darker shade around the base of the pot, where it would naturally pick up more dirt and dampness. When the pot is completely dry, if you wish, you can mix a little sand to sludgy paint to introduce a more rugged texture to this area, wiping with dry kitchen paper to blend.
Art of layering
Step 4
To mimic moss growing on the pot from the bottom upwards, press a natural sponge into undiluted dark green paint and dab, using a lighter and lighter touch as you work up towards the middle of the pot. You can also try going much heavier on one side of the pot, as if algae has grown on the shadowy side. Before these sponge marks are completely dry, give them a light rub with sandpaper to soften and ‘bed’ them in. Voila. Time travel comes to your potting shed.


